An Easy Way to Fix Stray Hairs in Portrait Photos (VIDEO)
Have you every shot a portrait that looked really great, except for a bunch of flyaway hair? Removing these distractions can be a difficult task—unless you know the quick Photoshop trick in the video below.
Nigerian portrait photographer Prince Meyson is a popular instructor with almost 100,000 subscribers to his instructional YouTube channel. He’s known for shooting and editing tips that keep things as simple as possible.
This episode is the first in a series of quick editing tips that deliver great results in seven minutes or less. Today he kicks off the new project by demonstrating a very effective method for removing stray hairs and cleaning up the background in beauty photos.

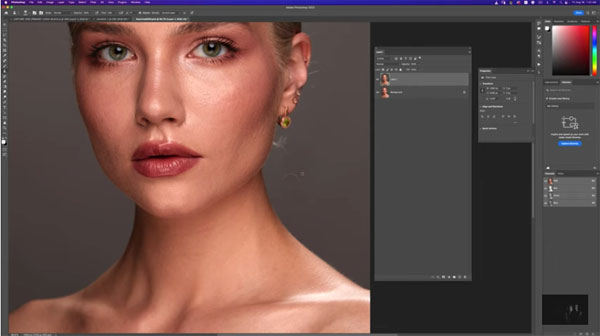
Meyson’s provides helpful keyboard shortcuts for speeding up the process, and he begins by duplicating his original image. Then he selects Photoshop’s Spot Healing Brush that he says, “is your best friend when removing stray hairs.” He explains why this usually works better than the more commonly used Clone Stamp tool.
As you’ll see, there is one situation in which Meyson does turn to the Cone Stamp tool; that’s when dealing with large clumps of hair as opposed to fine wispy strands. He demonstrates how easy this is do, and explains that this method is only appropriate for portraits with a plain background.
Once all the offending hairs are removed it’s time to finish the job by refining the background for a “flawless” result. Meyson says the best way to accomplish this is with a straightforward Frequency Separation technique. He demonstrates how this works, and includes a link to his free Photoshop Action in the description beneath the video.
You can find more great tips on shooting and editing portrait photos by visiting Meyson’s YouTube channel. So be sure to pay a visit and subscribe.
And check out the tutorial we posted last month from another expert, explaining how to deal with Photoshop’s frustrating “Embedded Profile Mismatch” warning.
