- REVIEWS
Camera Reviews 
More Reviews Mobile Reviews Photography Reviews - GALLERIES
- VIDEOS
- BUYER'S GUIDES
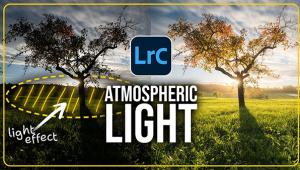
Create Nature Photos with a UNIQUE Look: Moody—Not Vivid (VIDEO)

Life isn’t always a bowl of cherries, and neither should be your landscape photos—especially of you want them to stand out from the crowd. The Lightroom tutorial below demonstrates how to give images a moody, gloomy look.
Landscape photographers typically strive for bright, vibrant photos, with vivid green foliage, bright blue skies filled with fluffy white clouds, and other objects within the framing having a similarly vivid look. But it always pays to try something different, which is what you’ll learn how to do today.
We regularly post editing tutorials from German landscape pro Christian Mohrle, who is s strong proponent of developing a unique style, and this episode is a great example. It’s all about creating dramatic images that depict a compelling somber mood.
This style of processing photos doesn’t involve any specialized skills. It simply requires you to envision a scene differently and make whatever enhancements are necessary. As with all Mohrle’s lessons, we encourage you to download his sample Raw file using the link beneath the video, so you can follow along and make the changes yourself as Mohrle describes the process.
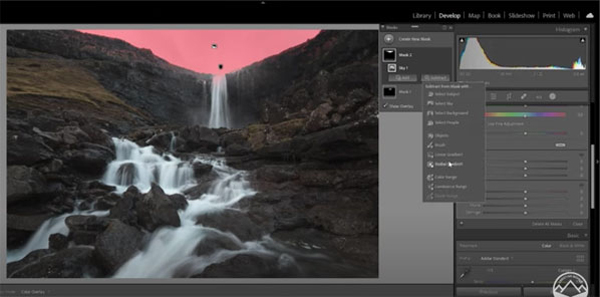
The first step involves a few basic global adjustments before jumping into masking, color grading, and sharpening. Working in Lightroom’s Basic panel, Morganti begins by changing the profile to Adobe standard. This immediately lessens contrast, providing more control for subsequent modifications.
Mohrle then adjusts color temperature to reduce a visible blue cast. He next raises exposure ever so slightly to make the image a tad brighter (without spoiling the dark look he’s after). After adding Clarity and reducing Vibrance it’s now time for masking.
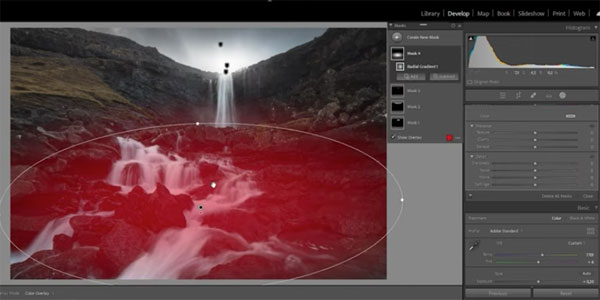
As you’ll see, Mohrle’s simple masking technique brings out more details in the right places, and adds compelling drama to his image. All that’s left after these adjustments are made is some straightforward color grading and sharpening. Mohrle walks you through these steps from beginning to end. Take a look at his before/after images and see what you think.
There’s much more to learn about editing outdoor images on Mohrle’s instructional YouTube channel, so be sure to take a look.
If you’re interested in other ways to create unique images, check out the earlier tutorial we posted explaining how to shoot and edit photos of famous landmarks.


![]()
Get the Latest Photo Tips, News & Reviews from Shutterbug!
| Camera Reviews Other Reviews | Mobile Reviews Photography Reviews Columns | News | Features | How-To | Resources |
 © 2026 Shutterbug
AVTech Media Americas Inc., USA
All rights reserved