- REVIEWS
Camera Reviews 
More Reviews Mobile Reviews Photography Reviews - GALLERIES
- VIDEOS
- BUYER'S GUIDES
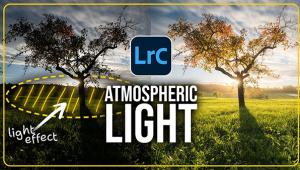
3-Minute Trick for Nature Photos with More Depth & Dimension (VIDEO)
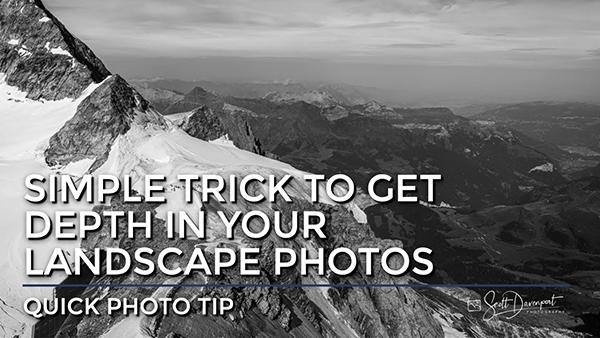
One characteristic of great landscape photos is an abundance of depth and dimension in the shot. Today we're featuring a remarkably simple image-editing trick that will help you achieve that goal. Best yet, this method works wonders with whatever software you use.
Instructor Scott Davenport is an experienced shooter who posts weekly tutorials on landscape, seascape, and other types of outdoor photography. In this episode he demonstrates why temporarily converting an image to b&w will greatly improve your basic processing.
By working in monochrome to adjust exposure, black point, and white point you'll find that your edits are easier to accomplish—including those that will make a big difference in the depth of a shot. Then you can convert the photo back to color and make whatever additional enhancements are required.

Davenport puts it like this: "The distractions of color are temporarily out of the way and you can concentrate on the tones—getting rich deep shadows and crisp highlights." His demonstration image is of a very compelling scene with a mountain in the foreground and other peaks in the distance. What's lacking is a clear sense of depth and dimension that differentiates the two important zones in the shot.
The first step is tapping the "v" key—a keyboard shortcut that converts the image to monochrome when working in Lightroom. Then Davenport uses simple sliders to adjust various tonal characteristics like highlights, shadows, whites, and blacks. He also enhances Texture and Clarity, while slightly dropping Dehaze so that the background "retreats."
Davenport then turns to the Tone Curve and uses the Picker to brighten snow on the left side of the frame without opening up dark areas further back in the scene. Throughout the process you can once again tap the "v" to see how the enhancements affect the color version pf the image.

Davenport repeats the process using ON1 Photo Raw so users of that software see how it works to increase depth and dimension in their photos. The technique there is pretty much the same, although some adjustments are made in reverse.
Regardless of your software of choice the results are impressive, as you'll see in Davenport's before/after examples. Bottom line: Flip the photo into b&w and you'll be surprised by how easy it is to make meaningful changes without the distractions of color to hold you back.
There's much more to learn on Davenport's popular YouTube channel, so be sure to pay a visit when you have time. We also suggest watching the tutorial we posted recently from another image-editing expert, explaining how to use Radial Masks in Lightroom for more compelling landscape and nature photographs.


![]()
Get the Latest Photo Tips, News & Reviews from Shutterbug!
| Camera Reviews Other Reviews | Mobile Reviews Photography Reviews Columns | News | Features | How-To | Resources |
 © 2026 Shutterbug
AVTech Media Americas Inc., USA
All rights reserved