- REVIEWS
Camera Reviews 
More Reviews Mobile Reviews Photography Reviews - GALLERIES
- VIDEOS
- BUYER'S GUIDES
3 Helpful Tips on How to Turn Your Good Wildlife Photos into Great Ones
So, let’s say you’ve shot a cool wildlife image that captures a poignant moment in the animal kingdom but, somehow, the photo looks sort of flat. Don’t worry, there’s a way to change your good image of a bird, lion, tiger or bear into a great one with the help of some proper editing.
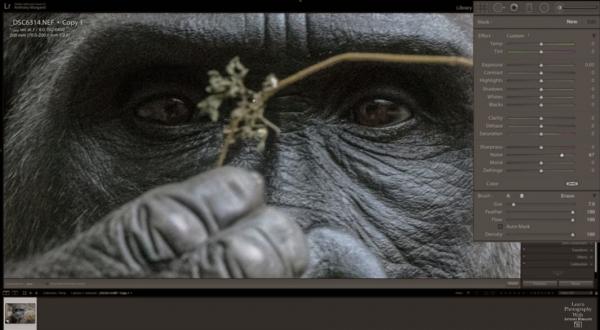
But where do you begin? Well, how about you watch this helpful video from imaging-editing expert Anthony Morganti with three tips on how to properly process wildlife images using Lightroom so they pop. Morganti explains that his wildlife photo editing techniques are meant to be subtle.
“What I hoped to convey in the video is that it's important to not do so much processing that the animal in the photo is being misrepresented,” he says. “As a wildlife photographer, you want your wildlife image to truly reflect and represent the way the animal appears in real life. My three tips keep that in mind and adjust the image so the viewer of the photo looks at the parts of the scene you want them to notice.”
In the video, Morganti walks you through his Lightroom editing process for an image of a chimp he captured at a zoo. He adds through that his advice can apply to just about any animal photo.
“As long as your subject has feathers or fur, these tips should help you,” Morganti says.
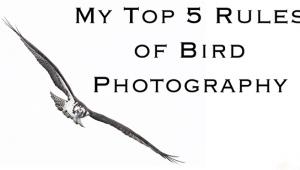
You can see more of his tutorials on his YouTube channel and on his new website, onlinephotographytraining.com. You should also read this gear guide on the 5 Best Super-Telephoto Lenses for Wildlife Photography, and this tutorial on how to shoot great photos of birds in flight.


![]()
Get the Latest Photo Tips, News & Reviews from Shutterbug!
| Camera Reviews Other Reviews | Mobile Reviews Photography Reviews Columns | News | Features | How-To | Resources |
 © 2026 Shutterbug
AVTech Media Americas Inc., USA
All rights reserved