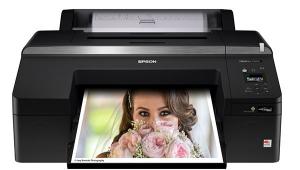
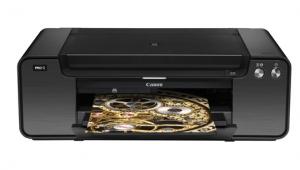
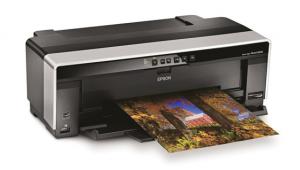
Nice printer.. From its looks to its price range very affordable also its performance is very impressive. I'm recommending this to all people who are looking for nice, durable and performance duty.
tinta compatible
Test Report Printers: The Epson Artisan 1430 A 13” Dye Inkjet Printer
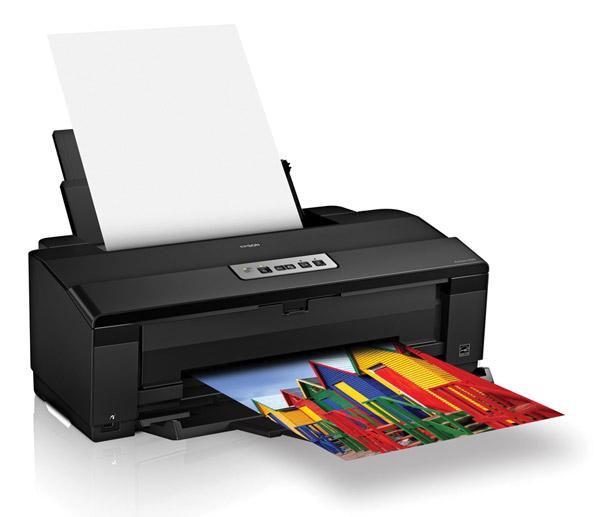
There are two general types of inkjet printers available—dye ink and pigment ink. While pigments have the reputation of delivering longer print life, dye inks have the advantage of producing more vibrant colors. The longevity differences are not as much of an issue as they once were, however, with dyes making strides in that direction; in fact, in the case of the Artisan 1430, Epson is claiming up to 200 years in storage, and 98 years on display, and that certainly rivals pigment durability.
The Artisan 1430 is the replacement for the Stylus 1400. At first I was a bit taken back by the new Artisan tag Epson gave this printer, having only seen these assigned to the lower-end consumer models and all-in-one devices. While the 1430 is the entry level in the 13” market with a list price of $299, it has the features that could appeal to many photographers, especially for those who enjoy printing but do not print day in, day out.
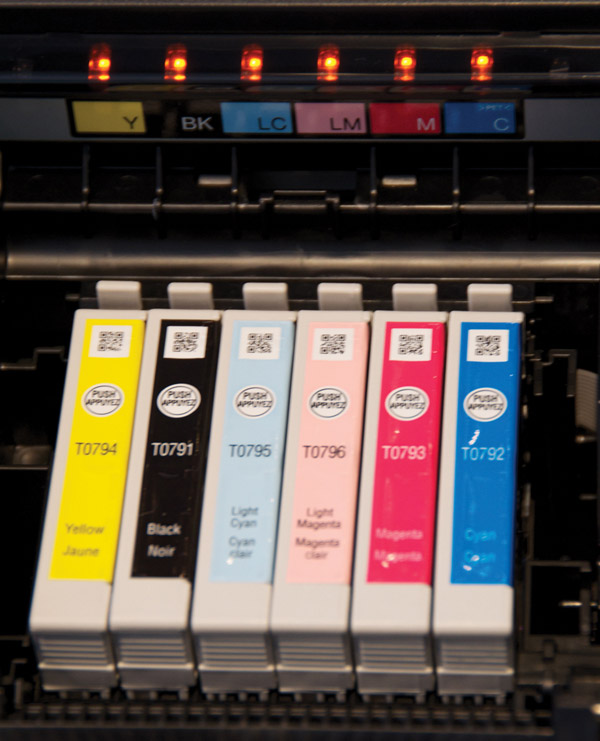
Epson packages the 1430 with a full set of six individual ink tanks—black, cyan, magenta, yellow, light cyan, and light magenta. These are Epson’s Claria Hi-Definition inks with claimed improved smudge-, scratch-, and water-resistance. A quick test of this smudge- and water-resistance showed that the inks live up to their claim—even on glossy paper, water didn’t cause a problem, and it took quite a bit more than normal pressure to see any smudging issues.
Also included is a tray for printing CD/DVDs with an inkjet coating, and a software bundle that includes Adobe Photoshop Elements 9, Epson Print CD, and driver software. If you’ll be connecting via USB, note that no USB cable is included with the printer.
Using The Artisan 1430
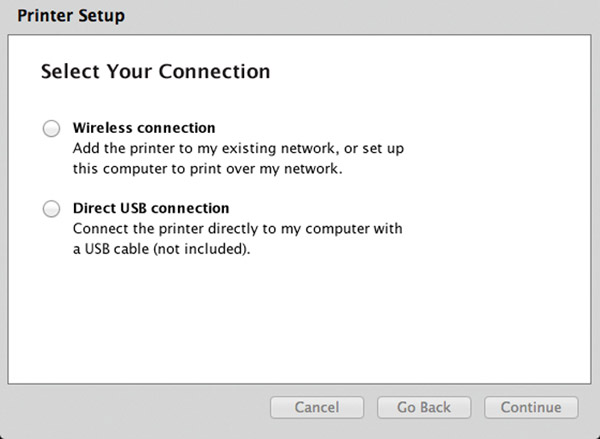
Installing the printer involves the usual removal of seemingly endless pieces of tape and the installation of the ink cartridges. Once this is complete, turn the printer on and let the ink lines charge, the whole process taking about 15 minutes. I set the printer up on my network in about 10 minutes. The software installation guides you through the process, and there were no issues finding the printer and adding it to my network. Wi-Fi supports 802.11b/g/n with n giving about 2.5 times the speed of the previous model, which only supported up to the g standard.
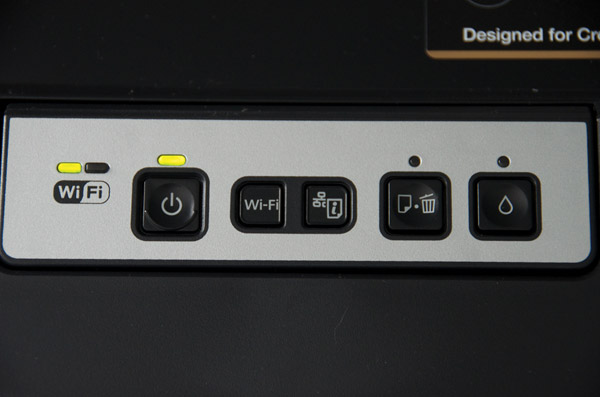
You’ll need to make sure that you’re in the correct mode for your setup—the 1430 doesn’t have an LCD display like many newer printers do, but there is a very straightforward set of buttons on the top panel that lets you see the current status. For Wi-Fi, just press the appropriate button and check for a green light above the Wi-Fi label. Other buttons let you print out a network status page, cancel the current print job, and replace ink cartridges.
The individual ink cartridges are advertised as high capacity, and have a list price of $19.99 for black, and $21.49 each for color. I couldn’t find anything that listed the difference in capacity between these and the cartridges used in the previous 1400 printer, but I did note that I was getting about 40 percent more from a cartridge than previously. Epson also has standard capacity cartridges that are the same as those used in the Stylus 1400, but the larger capacity cartridges are a much better value for a minimal price difference.

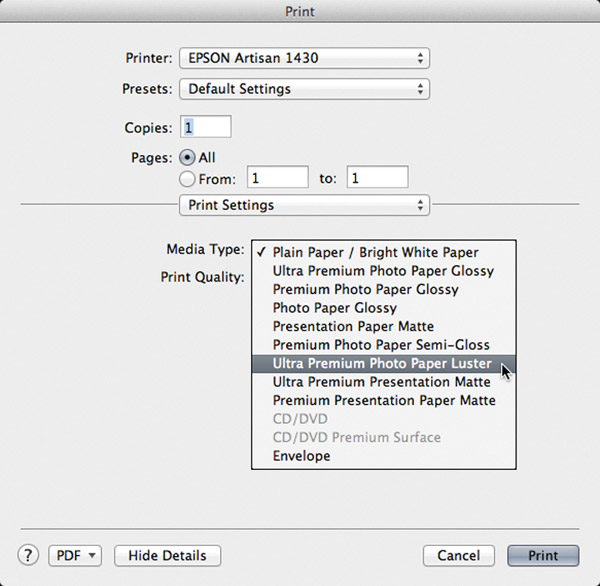
The printer can handle paper sizes from 4x6” up to 13x44” (there is no roll adapter with the 1430, so you would need to precut longer sheets). Borderless printing is supported in common photo sizes from 4x6” up to 13x19”, including the scrapbook size of 12x12”. The supported paper types are plain, glossy, luster, semigloss, matte, and double-sided matte. If you’re printing to plain paper the tray will hold up to 100 sheets, and up to 20 sheets of glossy photo paper.
Actual printing is very straightforward. Within most applications, like Photoshop, Lightroom, and Aperture, you have the option to let the application control color management or let the printer manage the color. Depending on which you choose, you’ll have a different set of features available in the print driver. I typically look at the more pro-oriented printers and was pleased at how well Epson laid out the driver options with the 1430.
Regardless of which way you go, you’ll need to select paper type and print quality under the Print Settings panel. If you elect to have the printer manage color, you’ll have options available in the Color Settings panel as well. Here you can select what type of image you’re printing to have the driver compensate and make adjustments to the print automatically with the Fix Photo setting, or fine-tune the color by selecting Manual Settings. If your operating system doesn’t automatically turn off the color management in the driver when the application manages color, you would do this here by selecting Off (No Color Adjustment).
The Auto Photo Correction features do a nice job of correcting for common problems with images, and can be a great help when you don’t want to spend time making adjustments to an image, but for the best results you are still going to want to make the appropriate adjustments in your image-editing software and have the software manage color. But, for the casual user who doesn’t know about color adjustment, and really doesn’t care to learn either, these auto adjustments can make a huge difference in overall image quality, reducing the frustration that many people experience when getting started with their own printing.
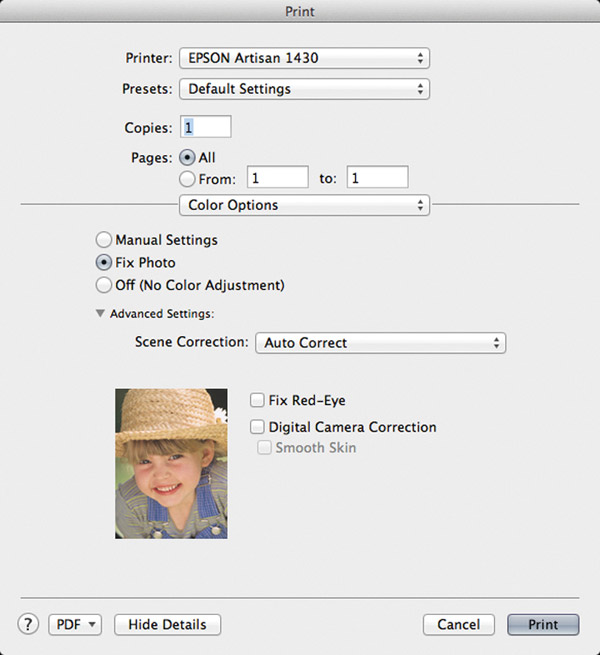
The only other time you’re likely to need to explore the Manual Settings is when trying new media types that aren’t supported by paper profiles from the vendor. In this case, you’d select the closest media type available, and then fine-tune the settings as needed for your particular paper. Most companies do a good job of providing profiles for their papers, and I would certainly recommend checking to see if one is available before going to the trouble of making adjustments in the driver.
The 1430 does a nice job on a range of media types, including matte papers, but the best results were seen with Epson’s own Premium Glossy Photo Paper. Colors are rich and vibrant, and skin tones are reproduced beautifully. There is no straight feed path for thick media, so heavy fine art materials are not going to be usable with this printer.

© Jon Canfield
Where this printer excels is in reproducing color-rich images such as landscapes, flowers, and, surprisingly, portraits. For black-and-white work, there are better options available. With only a single black ink, it’s difficult to reproduce a range of gray tones, and a distinct color cast is visible in monochrome prints.
Detail is exceptional, particularly for a printer in this price range. The 1430 uses what Epson calls DX5 technology for improved ink placement and smoother gradations. With a dot size of 1.5 picoliters and a print resolution of 5760x1440dpi, it’s nearly impossible to see individual dots of ink, even when magnified.

© Jon Canfield
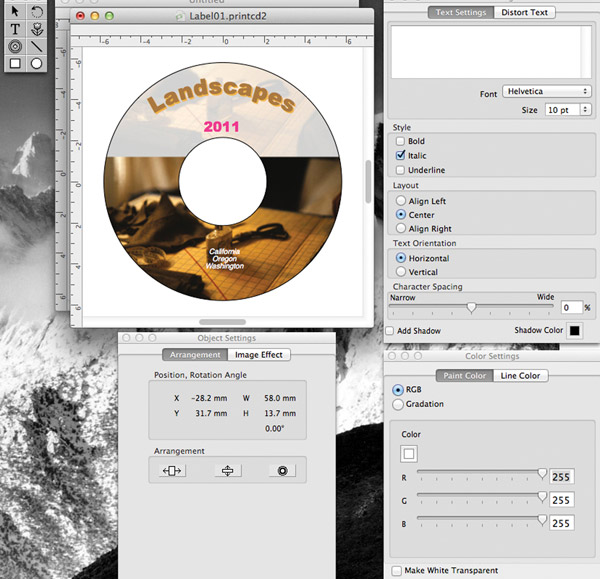
If you want to print directly onto inkjet-coated CD/DVD media, the included tray and software will handle the job pretty easily. Epson Print CD, included with the printer, lets you create custom labels with images and text. It has a number of features, but the interface feels a little clunky and took some experimenting to get the results I wanted.
If you’re using the 1430 wirelessly, you can also download Epson’s iPrint software for iOS and Android devices to print directly from your mobile device. I printed a couple of photos from my iPad with good results, as well as a document from Evernote.
Requirements
• Windows 7, Vista, XP SP1 or higher
• Macintosh OS X 10.4.11, 10.5.8, 10.6.x, 10.7.x
• USB or Wi-Fi for connection
Conclusion
The Artisan 1430 is a solid entry-level wide-format printer. Supporting Wi-Fi, printing on a range of media types, including CD/DVD, and offering borderless printing up to 13x19”, it’s hard to find fault with the printer at the suggested $299 list price, although I have noticed lower prices when shopping. And while the printer will appeal to a wide range of photographers, those printing in higher volumes or who need to print on heavier fine art media should look into the Epson R2000.
For more information, contact Epson at: www.epson.com.
- Log in or register to post comments


