One of the first decisions every photographer makes before purchasing a new camera is whether they want a full frame model or one with an APS-C or micro four thirds sensor. It’s an important consideration because the choice you make determines what the focal length of your lenses really means.
ISO is a basic camera setting with a big impact on the photos you shoot when it comes to exposure, image quality, and other important variables. Unfortunately the simple concept is misunderstood and often results in images that don't meet expectations.
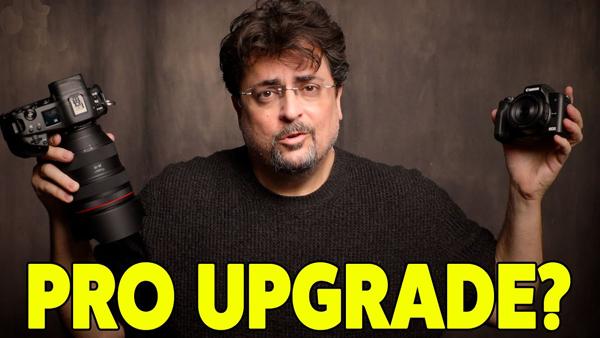
If you’re a regular visitor to our website you know that many of the tutorials we post are designed to improve your skills and help you “shoot like a pro.” And sometimes that means upgrading to a camera with pro-level features.
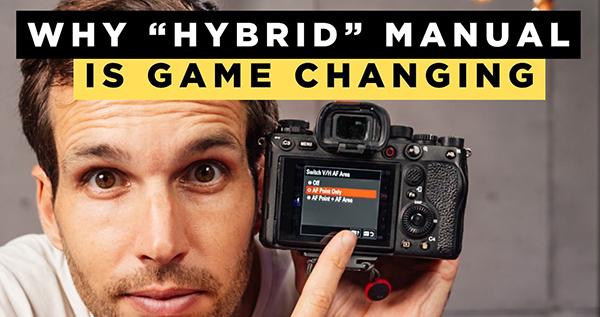
Experienced photographers typically set their camera's Mode Dial to Manual or Aperture Priority for most of their work. But there's another option that's frequently overlooked and you'll learn exactly how it works and when to use it in the quick tutorial below.
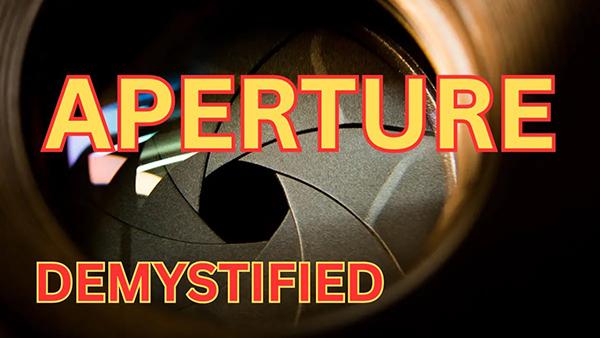
Today's how-to video from the Hamed Photography YouTube channel explores one of the most fundamental concepts in photography; namely the f/stop setting you choose. Hamed is a successful pro whose straightforward tutorials are designed to help elevate your skills, master important shooting techniques, and introduce you to the world of visual storytelling.
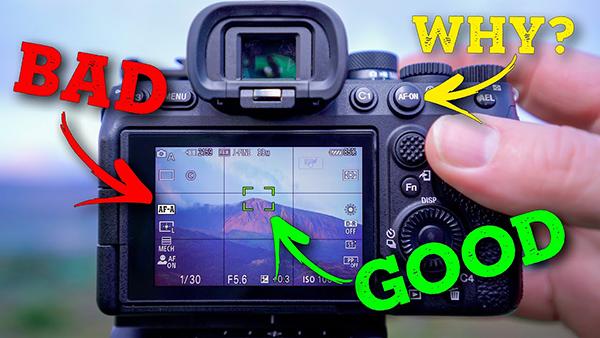
What if you were told you there is a much better way to focus, and pros use it all the time for faster, more precise subject acquisition? If we just grabbed your attention, read on to see how it's done.
One important wildlife photography technique that deserves far more attention involves configuring your camera with two or three Custom modes for instantly switching between settings for action, low light, or general photography.
If you're looking for a way to optimize the range of focus throughout an image the tutorial below explains the best way to get the job done, and it works for just about any type of photos you make. We refer to this technique as "bracket and stack it" and it's not difficult to do.
Today we'll let you in on what one pro calls an "untold secret about ISO in photography:" namely, there's far more to this concept than finding a correct exposure. This isn't your standard "what is ISO" video, because it goes beyond the basics to help you create a unique style that sets your imagery apart from the rest.
Most photographers are familiar with the Exposure Triangle that consists of Aperture, Shutter Speed and ISO—the three camera settings that combine to arrive at a “correct exposure.” Of course what’s perceived as “correct” is in the eye of the beholder, as the exposure you use depends upon the mood you intend to convey.
It can be extremely challenging to capture accurately exposed photos of scenes with a wide range of brightness values from white to black and everything in between. This tutorial from the My Photo Journey YouTube channel explains how to get the job done in the camera by selecting the oft-ignored Spot Metering mode.
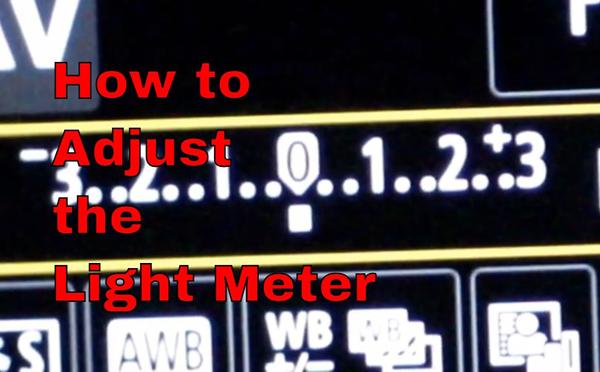
If you’re having trouble nailing exposure and ask a few friends for help, you’re likely to be told, “it’s time you mastered Manual mode.” While that’s certainly an option, there’s another (and often easier) way to consistently achieve perfectly exposed photos.
If you’re struggling to properly exposure complicated outdoor photos join the club! Many landscape scenes involve a wide range of tones from bright highlights to deep shadows, and it can be difficult knowing where to start.
Put two outdoor photographers in the same place at the same time—one a pro and the other an amateur—and it’s likely their photos will differ dramatically, especially in terms of creativity. The reasons a pro usually wins include better composition, high-end gear, and a greater understanding of exposure techniques.
Obtaining properly exposed photos can be difficult when shooting outdoors under ever changing light. This is particularly true when photographing birds and other forms of wildlife that often move quickly from sun to shade.