Monitor CALIBRATION: How to Do it for FREE (VIDEO)

Achieving accurate results during the editing process is sort of like rolling the dice if not you’re not working with a correctly calibrated display. In fact, you’re probably better off with a cheap monitor that’s properly calibrated than with a high-end display that’s not.
In the quick tutorial below with professional photographer Matt Granger you’ll learn the importance of this “crucial” task.” You’ll also see to get the job done on the cheap or even for free. Granger notes that, “by calibrating the monitor you’re making sure that what the screen is showing you is actually what’s in the file.”
Granger says the first thing to do, before jumping into calibration, is to make sure you understand a histogram and how it works. As he explains, “The histogram is a graphical representation of what’s in a photo. So if the histogram on your camera looks perfect, but the image appears too bright (or dark) on the computer, that’s a sure sign the monitor needs calibration.
With the aforementioned in mind, it’s obvious that if you make adjustments to a perfectly exposed photo because it looks too bright on an uncalibrated screen, the image in reality will end up too dark. That’s just the tip of the iceberg, but here’s the bottom line: you just ruined a photo and wasted your time.

As Granger explains, calibrating the white point, black point, and contrast is just the beginning, as color calibration is “a whole other kettle of fish.” Some high-end monitor’s auto-calibrate according to whatever schedule you set, and there are several full-featured (and rather costly) calibration devices that provide great results.
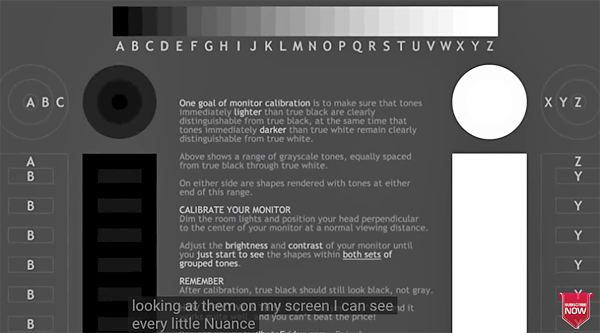
But as promised above, the emphasis of this episode is inexpensive and free methods for getting the job done, so what you see on the monitor is a reliable representation of the contrast, brightness, color tones, and other variables in your images. And if, like many photographers, you work on a Mac, this process is particularly important for reasons Granger explains.
After watching this very helpful lesson, choose the method that work’s best for you and calibrate your monitor today. Then you’ll be able to process your images with confidence.
There’s a wide variety of helpful photography advice on Granger’s popular YouTube channel, to be sure to take a look and subscribe.
And when is comes to perfect colors, check out the Photoshop tutorial we posted explaining how to easily enhance photos with dull colors.


