- REVIEWS
Camera Reviews 
More Reviews Mobile Reviews Photography Reviews - GALLERIES
- VIDEOS
- BUYER'S GUIDES
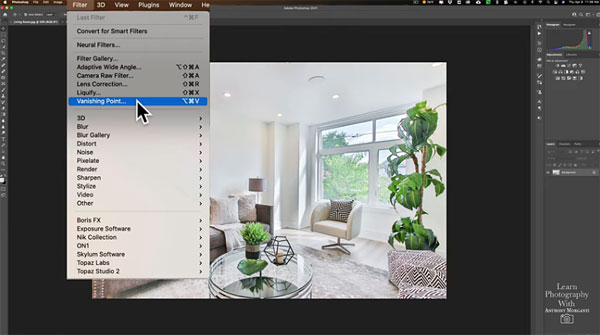
How to use Photoshop’s Vanishing Point Filter to Fix Perspective Problems in Photos (VIDEO)

Photoshop’s Vanishing Point Filter is a powerful easy-to-use tool that simplifies the process of editing images with perspective planes like walls, sides of a building, or other rectangular objects. And once you specify the planes in an image, your subsequent edits will maintain that perspective.
Sound helpful? It is, and you’ll learn how exactly it’s done in this 10-minute tutorial. Image-editing expert Anthony Morganti takes a unique approach to explaining how the Vanishing Point Filter works. He doesn’t use an architectural photo with converging verticals, or a landscape shot with a crooked horizon. Instead, he begins with the image of a painting that he wants to add to a photo of a living room with sloping walls.

To get started, Morganti uses Photoshop’s Crop Tool to add a shadow to the painting for a more realistic result when he “hangs” the artwork on the wall. And as always, he provides keyboard shortcuts to speed up the process.
Now it time to bring up the Vanishing Point Filter and define the prominent angles of the walls and furniture in the living room photo. Once that’s done, it’s a simple matter to drop in the painting and it will conform to the perspective of the room.
All this sounds far more complicated than the technique really is. And it’ a good bet that after using this method once, it will find a permanent place it your bag of tricks. You can find more editing wizardry on Morganti’s YouTube channel.
And be sure to look at another Photoshop tutorial we posted recently, with three simple tips for cleaning up messy backgrounds.


![]()
Get the Latest Photo Tips, News & Reviews from Shutterbug!
| Camera Reviews Other Reviews | Mobile Reviews Photography Reviews Columns | News | Features | How-To | Resources |
 © 2026 Shutterbug
AVTech Media Americas Inc., USA
All rights reserved