- REVIEWS
Camera Reviews 
More Reviews Mobile Reviews Photography Reviews - GALLERIES
- VIDEOS
- BUYER'S GUIDES
Here Are 5 Tricks for Tack Sharp Bird Photographs While Hand-Holding Your Camera (VIDEO)
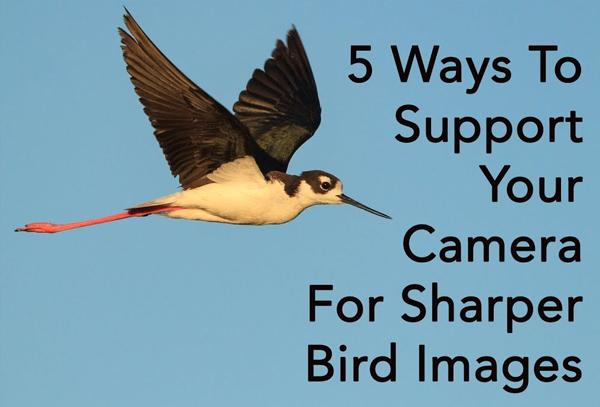
Tripods tend to be standard equipment for wildlife photographers striving for optimum sharpness. But when photographing birds, these three-legged camera supports can often be an encumbrance— especially when shooting birds in flight.
In the quick video below, you’ll learn five secure ways to hand-hold a camera and achieve tack-sharp images of our feathered friends. Tim Boyer is an acclaimed bird photographer, author, and workshop instructor, and in barely three minutes he explains his methods for capturing sharp bird photos by supporting his camera properly.
These simple tips involve dampening vibration using a correct grip on both camera and lens, pressing the viewfinder to your forehead, and maintaining a proper stance.
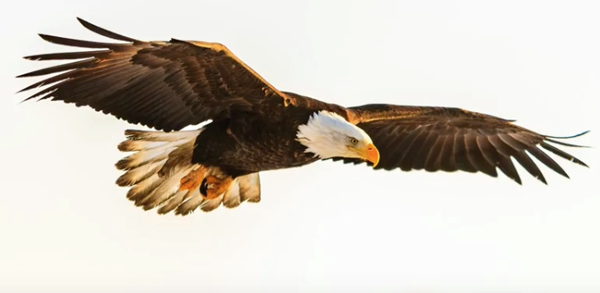
Boyer demonstrates the best way to grip a camera and long lens for shooting both vertical and horizontal photos. You’ll see how to improve results dramatically, simply by tightly locking your elbows against your body while maintaining a secure grip on the far end of a lens.
When shooting without a tripod, Boyer always removes the lens foot and mounting plate for a more convenient grip. He’s a big proponent of shooting from a low perspective to capture his subjects at eye level. And you’ll see a “stance” he developed for doing that, by sitting down, pressing his arms against his sides, and digging his elbows into his legs.
There’s much more of interest for intermediate and advanced bird photographers on Boyer’s YouTube channel. And if you’re a Canon shooter, don’t miss an earlier tutorial we posted with five custom camera settings for photographing birds with a Canon DSLR.


![]()
Get the Latest Photo Tips, News & Reviews from Shutterbug!
| Camera Reviews Other Reviews | Mobile Reviews Photography Reviews Columns | News | Features | How-To | Resources |
 © 2026 Shutterbug
AVTech Media Americas Inc., USA
All rights reserved