- REVIEWS
Camera Reviews 
More Reviews Mobile Reviews Photography Reviews - GALLERIES
- VIDEOS
- BUYER'S GUIDES
Fix Distorted Travel & Nature Photos in 3 Minutes with Lightroom (VIDEO)
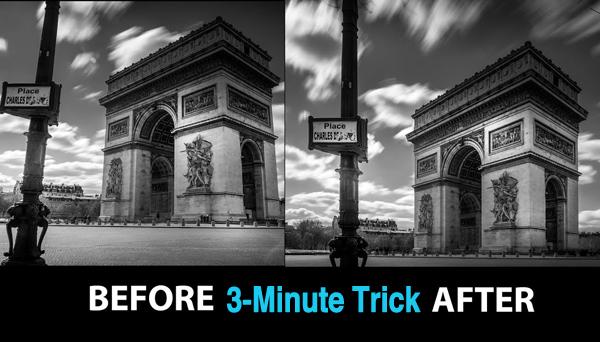
Distortion is often a challenge with outdoor photos, like landscape images with tall trees, or city scenes with soaring buildings and other vertical lines. Fortunately, these distractions are very easy to fix during the editing process, as you’ll see in the quick tutorial below.
This problem occurs when pointing the camera upwards, and results in converging verticals. Pointing the camera down from a high vantage point yields the opposite problem. In either case, linear distortion can result in an image with “bad empathy.”
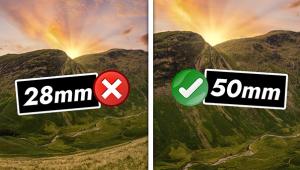
We always strive to get things right in the camera, and one way to avoid this problem is by shooting a scene loosely with a very wide lens, while taking care to hold the camera flat to the horizon. Then it’s a simple matter to crop the shot to achieve the framing you want.
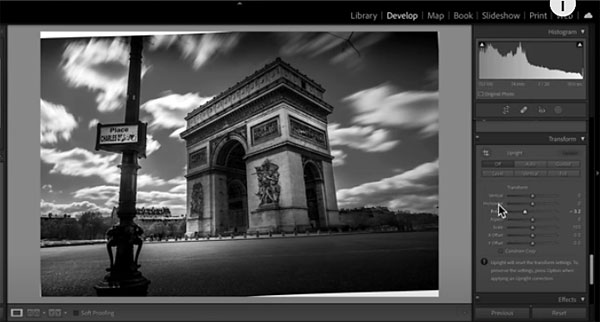
But if you need to fix distorted photos you’ve shot in the past, or don’t have a sufficiently wide lens out in the field, the solution is simple: Watch this episode from French photographer Serge Ramelli, and put his “two secrets” to work. After just three minutes you’ll never have to worry about distorted photos again.
Ramelli is the perfect instructor for the job, because he specializes in street scenes, landscape photography, and travel images. He refers to this method as a “game changer,” using Lightroom and the Transform tool to achieve perfectly aligned images.

Ramelli’s demonstration photograph is a dramatic shot of the Arc de Triomphe in the center of Paris. As you can see, the b&w image is quite compelling, but it’s full of distracting distortion. Thanks to the method he’s developed, however, it’s easy to rehabilitate the shot.
You can find more helpful tips on Ramelli’s YouTube channel, so be sure and take a look. And for another of Ramelli’s quick rehabilitation tutorials, check out our recent post explaining how to sharpen outdoor photos in Lightroom in just four minutes.


![]()
Get the Latest Photo Tips, News & Reviews from Shutterbug!
| Camera Reviews Other Reviews | Mobile Reviews Photography Reviews Columns | News | Features | How-To | Resources |
 © 2026 Shutterbug
AVTech Media Americas Inc., USA
All rights reserved