- REVIEWS
Camera Reviews 
More Reviews Mobile Reviews Photography Reviews - GALLERIES
- VIDEOS
- BUYER'S GUIDES
Edit Photos 10X FASTER with This Pro's Photoshop Technique (VIDEO)
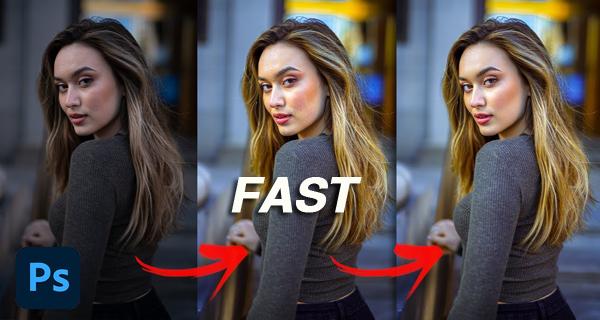
Every photographer who sits down behind a computer to process their work wants to do the best job possible. But there’s often a competing goal: finish up the edits quickly and get back out in the field behind the camera, doing what they love most.
Those familiar with Photoshop know there are a variety of ways to accomplish the same task—some of which are faster, equally effective, and easier than others. In the nine-minute tutorial below, instructor Justin Laurens demonstrates how to “edit 10 times faster using simple tricks.”
Laurens is a popular educator, accomplished portrait photographer, and a photo-retouching expert. He insists that the tips he provides will greatly accelerate the editing process and enable you to “create professional results with ease without complicated editing steps and numerous layers in Photoshop.”

Laurens says this lesson is designed for two kinds of people; “beginners who wish to create professional results eight away, and experienced photographers seeking a more efficient workflow enabling them to edit dozens of photos fast. So no matter your level of editing expertise, these tips will elevate your abilities today.
While this powerful method involves editing portrait photos, much of what you’ll learn will prove helpful when processing other types of images, and deliver equally precise, speedy results. Laurens walls you through this proven method using both simple manual adjustments and Photoshop’s automated AI capabilities.
Laurens begins with the former by opening the image, which you can download and follow along as the steps are described. Because his image is a Raw file the Camera Raw Filter window opens automatically. You’ll now see several sliders to for making basic adjustments. The first step is balancing exposure to increase details in both shadows and highlights, while maintaining nice, crisp contrast in both whites and blacks. He also modifies color temperature to accentuate blue tones in the background.
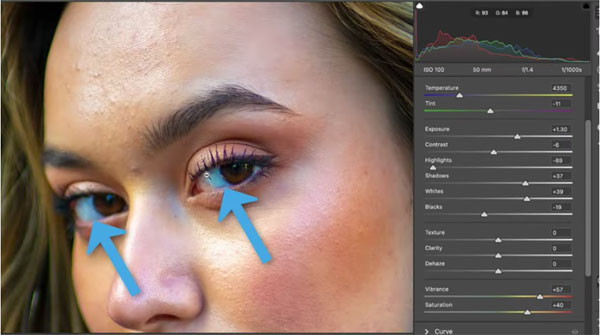
Laurens also uses sliders to pump up saturation, vibrance, clarity, and texture. He then turns to Photoshop’s Color Mixer to refine various tones. You’ll see how Luminance adjustments also make a big difference. A quick look at before/after image at this stage in the process reveals a significant improvement.
Now it’s time employ Photoshop’s AI tools to complete the transformation. Here the goal is to retouch the subject’s skin and eyes, while creating depth on her face. These final steps require no advanced skills and are accomplished in barely four minutes—thanks to the magic of artificial intelligence.
After watching this helpful video head over to Laurens very popular YouTube channel for more of the same.
On a related topic, be sure to watch the tutorial we posted from another editing expert, explaining how to use a Color Wheel to create beautiful photos with “harmonious” tones.


![]()
Get the Latest Photo Tips, News & Reviews from Shutterbug!
| Camera Reviews Other Reviews | Mobile Reviews Photography Reviews Columns | News | Features | How-To | Resources |
 © 2026 Shutterbug
AVTech Media Americas Inc., USA
All rights reserved