- REVIEWS
Camera Reviews 
More Reviews Mobile Reviews Photography Reviews - GALLERIES
- VIDEOS
- BUYER'S GUIDES
Create a Realistic Fog Effect in Photoshop to Add Depth & Drama to a Photo (VIDEO)
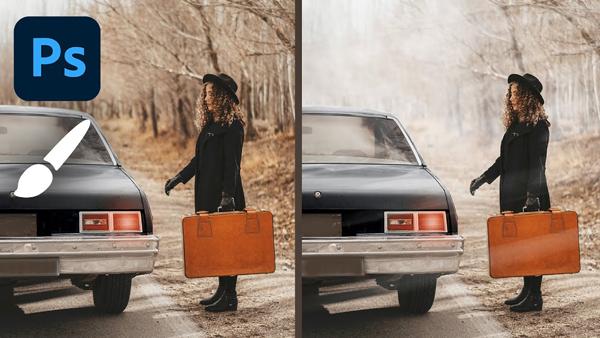
We often discuss how to fix distracting backgrounds in outdoor scenes, and one way to do that is by using small apertures to minimize depth of field. Another approach involves blurring the background in post processing. But if you’re looking for a more creative approach, read on.
In this tutorial you’ll see how to minimize distractions, by using Photoshop to add fog, smoke, or other environmental effects to an image, and then enhance the effect to create a realistic sense of atmosphere and depth.
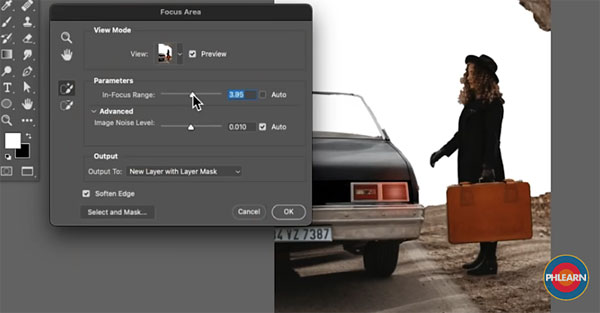
Image-editing expert Aaron Nace explains how easy it is to create a custom “fog brush” in Photoshop to get the job done. This technique also enables you to add light rays to a photo for an even more dramatic result.
Nace demonstrates how to create a fog brush using a photograph of a cloud. First, he employs Channels to separate a cloud from the blue sky surrounding it. After turning the background black using a soft brush, he then paints white over the cloud to brighten it up. Once the cloud is turned into a selection it forms the basis of the fog you add to whatever image you want.
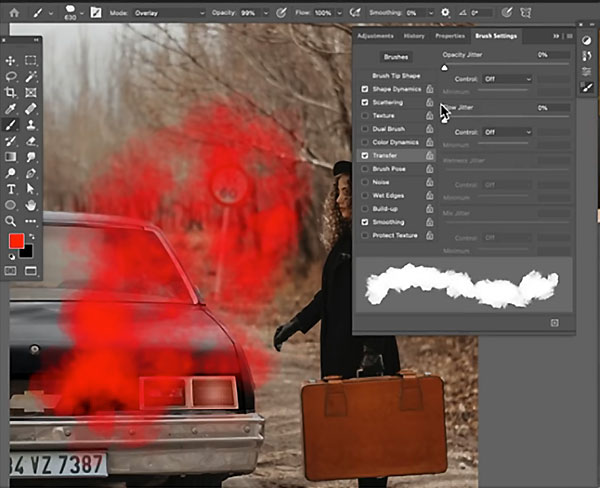
Now that he’s created a fog brush from the cloud, Nace turns to the image he’s working on. Before painting in the fog, he modifies a number of Brush settings so they deliver a realistic environmental effect. As you’ll see, the proper values for Flow Jitter are really important.
While Nace prefers to use a graphics tablet, he also explains how to create the effect using a mouse. The easy-to-achieve result appears totally natural, and we think you’ll agree that it goes much further than simply adding background blur to an image.
You can find many more helpful tips on Nace’s YouTube channel. And don’t miss an earlier Photoshop tutorial we posted, explaining how to add impact to landscape photos with a realistic sunbeam effect.


![]()
Get the Latest Photo Tips, News & Reviews from Shutterbug!
| Camera Reviews Other Reviews | Mobile Reviews Photography Reviews Columns | News | Features | How-To | Resources |
 © 2026 Shutterbug
AVTech Media Americas Inc., USA
All rights reserved