- REVIEWS
Camera Reviews 
More Reviews Mobile Reviews Photography Reviews - GALLERIES
- VIDEOS
- BUYER'S GUIDES
Check Out This Eye-Opening Teardown of the New Canon R Mirrorless Camera By LensRentals.com
(Editor’s Note: This piece is an excerpt of a story by Roger Cicala, the founder of LensRentals.com. To read the full teardown article, click here.)
I’ve wanted to look inside the new Canon and Nikon mirrorless cameras since the moment they were announced, so I’m probably more excited about this than you guys are. I’m really not sure what to expect. Early on, when we took apart a Sony A7R, we were struck by how clean and straightforward mirrorless cameras were compared to DSLRs. Later, we took apart an A7RIII and found that increased capabilities led to increased complexity, although still not as complex inside as a DSLR.
So, we expected things not to be too complicated – no mirror box, optical prisms, off-sensor AF system, etc. We hope Canon cameras to have clean, even elegant, engineering; like the 5D IV teardown shows. We haven’t done a Nikon SLR teardown in quite a while (the D7000 was the last one), but their camera engineering is pretty similar to Canon’s, although being Nikon they still like to leave some soldered-wire connections here and there. So we figured that the new Canon and Nikon mirrorless full-frame cameras would be more straightforward than their SLR cameras, and perhaps Nikon set down the soldering gun and slowly stepped away.
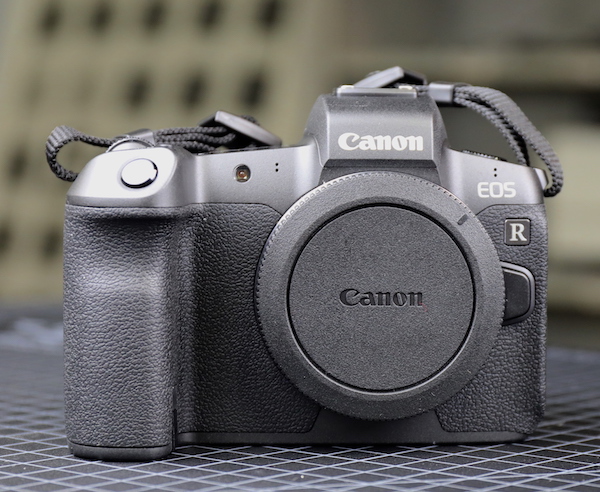
But really, we had no idea how things would look inside, if we might see some cool new engineering, what the weather resistance would be like, etc. So we took apart both a Canon EOS-R and a Nikon Z7 just to have a look around. (The Z will get written up as soon as I can get to it.)
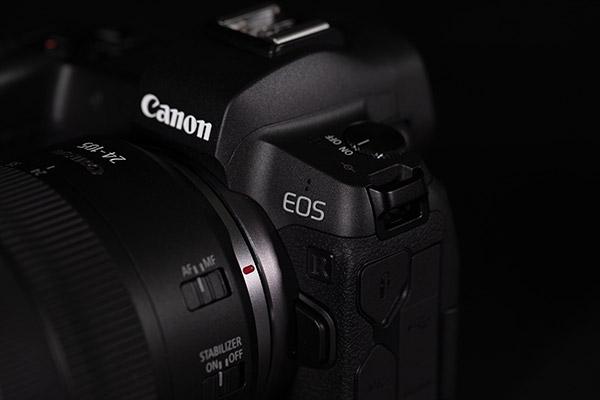
The EOS-R
The Outside
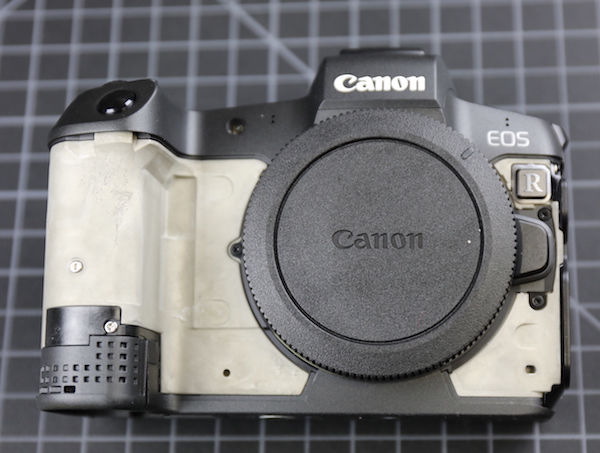
Since this is a brand new camera to us, we started by removing all the grip rubber so we could see where most of the screws were. It’s worth noting that Canon seems to have new grip adhesive tape; it was both easier to remove and retained its stickiness for replacement better than what we’ve seen before. Important news for the none of you that intend to repair your cameras at home, but we like it.

Now the camera looks kind of like your dog shaved down for summer. I kind of like it, though. If I get one, I may just take the grips off. The shell, BTW, seems to be a polycarbonate with a slightly rough surface. It would grip nicely.
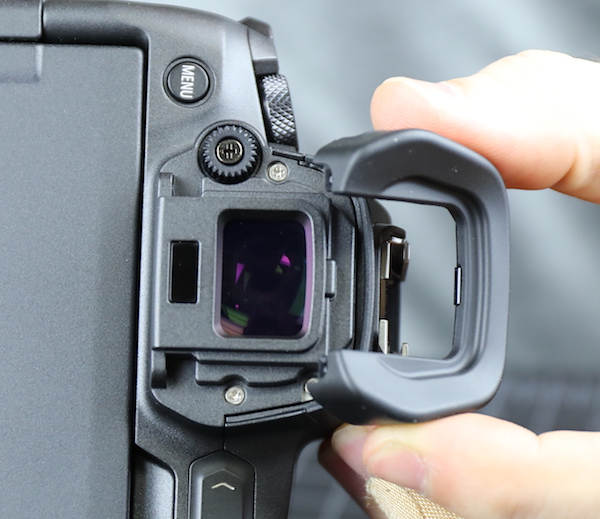
The rubber around the viewfinder is actually screwed into place. Good news for those of you who, like me, sometimes find yourself wondering when the viewfinder rubber came off. Bad news for those of you who like to take it off on purpose for some reason or other.
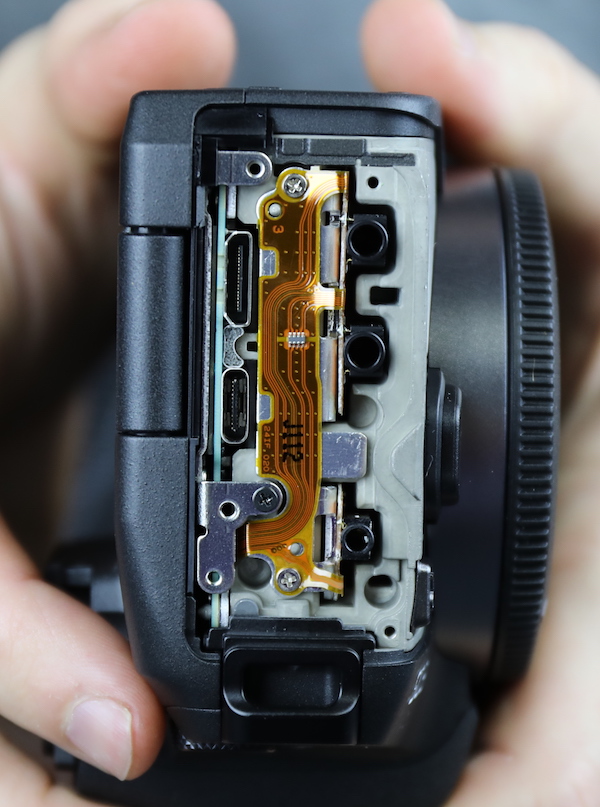
Next, we went to the side to remove the I/O port covers. This is held on by four screws; removing those lets it slide right off.


With the cover off we see a very nice flex along the I/O ports. Why ‘nice’ you ask? Because that means that some or all of the I/O ports are not soldered to the main PCB. We have to replace a lot of main PCBs because someone jerked a cable, pulling an I/O port off of the board.
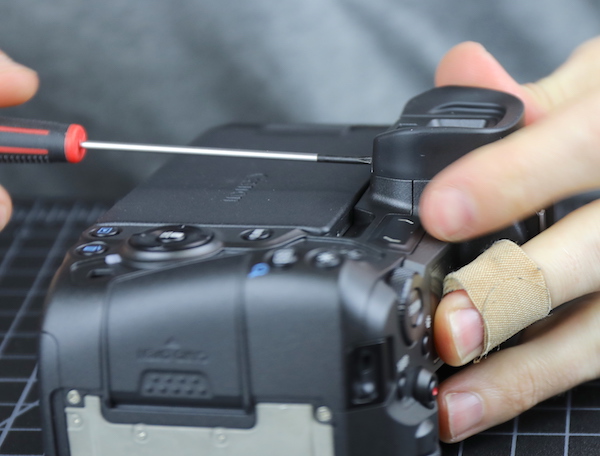
Next, we remove all the visible screws around the body.
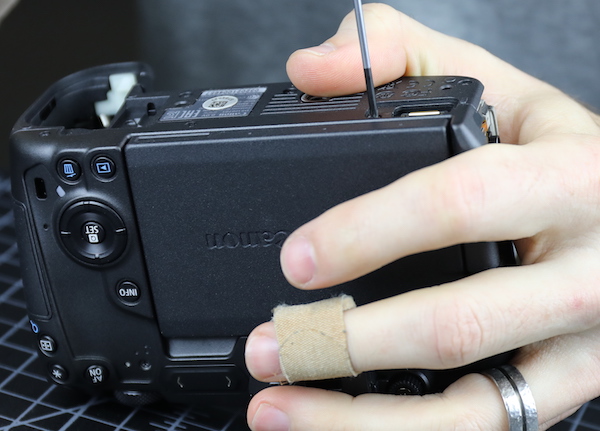
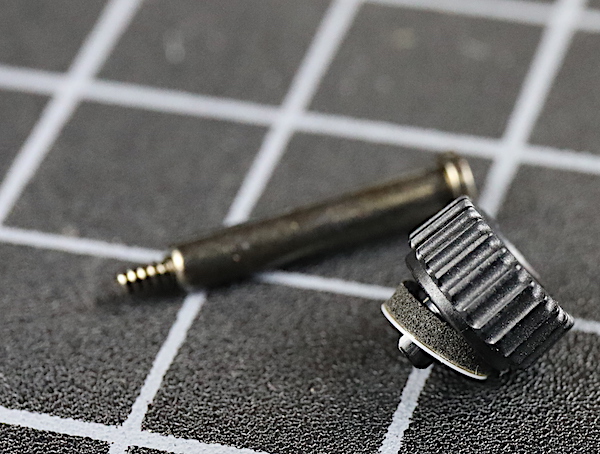
And the diopter adjustment from the viewfinder.

There is a nice thick weather seal under the diopter adjustment knob. For those who want to skip ahead, the knobs and dials are all weather sealed nicely, but not much else. As long as it only rains on your knobs and dials, though, you should be fine.
Opening the Case
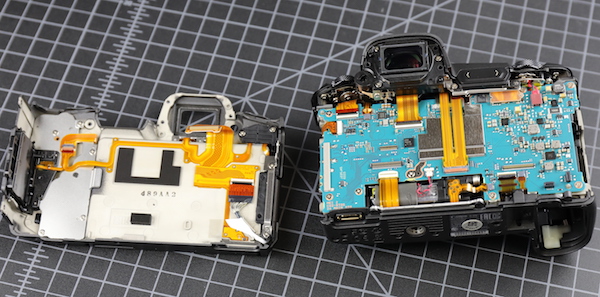
With all the screws out, the back assembly can be removed, LCD and all, after the flexes between it and the main PCB are detached.

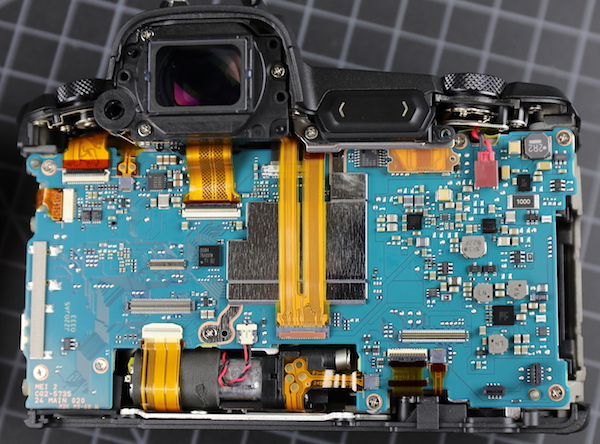
At a glance, this looks much like a Canon SLR: the back assembly containing the LCD and controls, the main PCB with neatly laid out flexes.
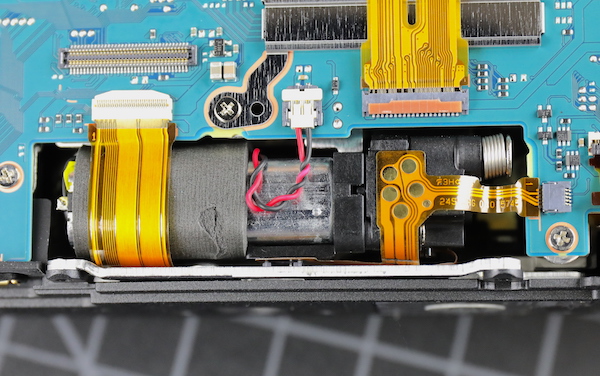
Looking closer, there are some apparent differences. First among these is that the shutter motor and electronics are at the bottom of the camera, underneath the shutter box. In a Canon DSLR, it’s generally to one side.
Here’s a close up of the shutter motor for those into such things.
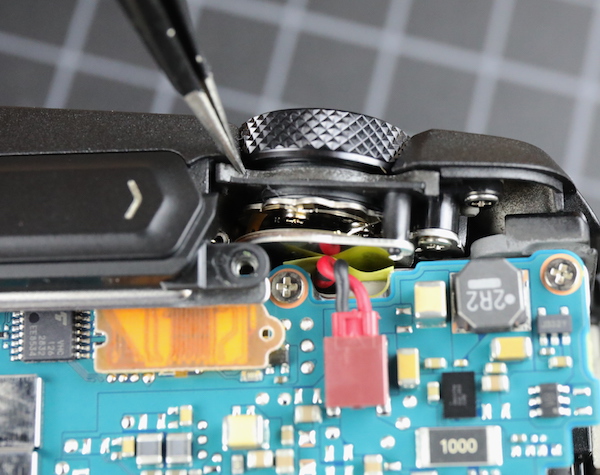
I should also show there’s weather sealing below each of the top dials. As you can see to the right of that, though, the rest of the body depends on a plastic overlap to keep stuff out, there are no gaskets.
Read the full teardown story with additional images and information on LensRentals.com's blog. Read another teardown story of a Canon 70-300mm lens here.


![]()
Get the Latest Photo Tips, News & Reviews from Shutterbug!
| Camera Reviews Other Reviews | Mobile Reviews Photography Reviews Columns | News | Features | How-To | Resources |
 © 2026 Shutterbug
AVTech Media Americas Inc., USA
All rights reserved