- REVIEWS
Camera Reviews 
More Reviews Mobile Reviews Photography Reviews - GALLERIES
- VIDEOS
- BUYER'S GUIDES
Here’s How to Use Photoshop’s Handy Sponge Tool to Make Your Images Pop with Natural Color (VIDEO)

Many photographers are unfamiliar with Photoshop’s powerful Sponge Tool, and that’s a shame because it’s a great way to punch up colors in an image while retaining a natural look. In the three-minute tutorial below you’ll learn how to make the Sponge Tool your friend.

Greg Benz is an image-editing expert and he demonstrates a simple method of using the Sponge Tool to make foliage more vibrant and warm up the sunlit areas of a scene. It’s all as simple as selecting the area you want to adjust and painting over that portion of the image in either the Saturation or Vibrancy mode.
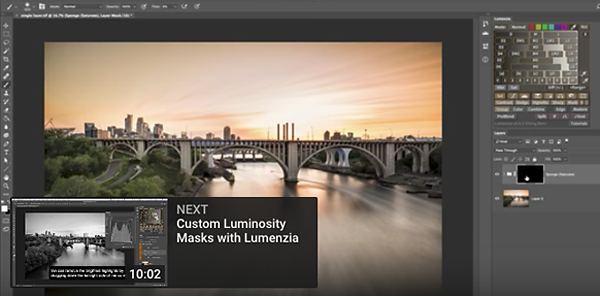
The one caveat with all this is that you’re not working on an adjustment layer, but rather modifying actual pixels. Hence, this is a “destructive” editing technique and you can’t go back and undo your adjustments later. If that puts you off, fear not: Benz offers a non-destructive luminosity masking panel for Photoshop he calls Lumenzia. It's a $39.99 download with a free 30-day trial.
You can find more great tips on the Greg Benz YouTube channel, and be sure to watch a recent video of his we shared explaining how to merge multiple images to create one killer shot.


![]()
Get the Latest Photo Tips, News & Reviews from Shutterbug!
| Camera Reviews Other Reviews | Mobile Reviews Photography Reviews Columns | News | Features | How-To | Resources |
 © 2026 Shutterbug
AVTech Media Americas Inc., USA
All rights reserved