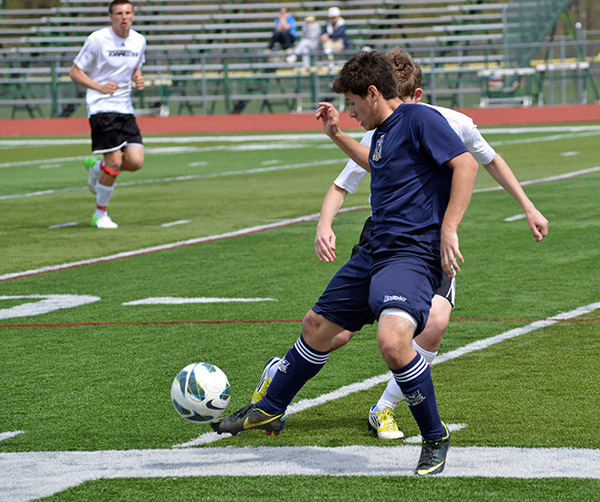
7 Easy Photo Tips on How To Take Better Pictures At Outdoor School Events

Last week we listed seven ways to improve picture taking at indoor school events. This week the focus shifts to outdoor school activities. Of course, there’s nothing stopping you from applying these tips to other situations—family reunions, company picnics, county fairs—almost anything outside that’s fun, loud and involves people.
Where others see a middle school graduation ceremony, we see a colossal photo opportunity. No? Some folks are content to shoot from afar with their phone, but not you or me, especially if our DNA is among those who are wearing caps and gowns. Here are seven tips that will help you make the most of the happy occasions.
1) Scout shot locations ahead of time. Even if you’re familiar with the venue, arrive early and investigate the best places to shoot from. I’m not suggesting that you camp out overnight in order to stake your claim to the front row, but the early bird often does get the best shots.

2) Be prepared for any kind of weather. In the early summer, temperatures can shift significantly between morning and noon, and a rain shower can popup at almost any time. Pack the following items to protect you and your cameras: 30-gallon trash bags, lightweight waterproof jacket (the kind golfers wear) and a crushable cap. I prefer traditional Boonie Caps, but my family has declared them contraband.
Sun block? That’s up to you. But whatever you do, don’t get that smeary stuff on your camera or lenses or you’ll sorely regret it.
You can trust the National Weather Service NOAA weather forecasts as much as you can believe any forecast—which is another way of saying that it’s a good idea to be prepared for anything.
3) Drag out the big lenses. Daytime adventures are more fun because you can use those big zooms and other lenses that need a lot of light. Remember that 300mm f5.6 you have in the top of the closet? Get that puppy up and going.
4) Use a tripod or monopod with your telephoto. Unless the event is on the formal side, use a three-legged support, just be sure that it’s not blocking anyone’s view or passage. Monopods are more mobile and are better than no support at all.
5) Use flash. Outside? Yes. Unless you are blessed with a perfectly bright but overcast (as in sunless) day, an electronic flash will wash away annoying shadows and brighten up the colors in general when used at portrait distances. Of course, they’re worthless from far away, but can be indispensible when your subject is in the shadows or uneven lighting.
6) Experiment with the ISO setting. In normal daylight you should be able to shoot at your camera’s base ISO (usually 100 or 200). But what if you’re shooting action that requires a very fast shutter speed, or using a telephoto that’s more susceptible to camera shake? Here’s a tip I would not have offered ten years ago when cameras were unable to perform adequately at higher ISOs. Shoot in Shutter Priority at a high speed—1/500th for instance—and set your ISO to Auto. The f/stop and ISO will change in accordance with the available light, but the shutter will remain fast enough to freeze action. Shooting at a high ISO in bright light produces less noise than shooting at the same ISO in dim light. Try it if you don’t believe me.
7) Timing is everything. You know the old joke. When does the sun set? Answer: I don’t know—I’m not from around here. If your event extends into the evening, be prepared by knowing when the sun really sets. The US Navy has taken all of the guesswork out of it for you at this website. For example, it shows you that in Tucson the sun sets at 7:25 pm on June 1. Sound frivolous? Well, if you’re planning to photograph fireworks on July 4, won’t it be nice to know exactly when it will be dark?
(If you liked these photo tips, you should check out my story from last week: 7 Easy Photo Tips on How To Take Better Pictures At Indoor School Events)
—Jon Sienkiewicz


