- REVIEWS
Camera Reviews 
More Reviews Mobile Reviews Photography Reviews - GALLERIES
- VIDEOS
- BUYER'S GUIDES
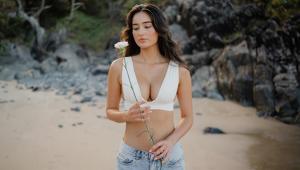
6 Ways to Take Great Photos in Bad Light

(Editor's Note: This story is from PRO EDU, a great place for photography and Photoshop tutorials.)
As a photographer, luck will not always be on your side with great lighting. More often than not, you will be placed into a situation where the light is not ideal, yet you will be expected to shoot print-worthy photos. Here are some helpful tips to help you take great photos in bad light.
There are several scenarios where you might come across bad or less-than-ideal lighting conditions, such as:
• Shooting in the middle of the day with harsh light
• Photographing a wedding ceremony in a dark church
• Taking night portraits with low light
• Shooting in a room with mixed lighting
For each of these situations, there are different techniques you can use to help improve the lighting you were handed. Below, we’ll go through six ways that you can create great photos in bad light, regardless of the scenario.
1. Dial in Your Camera Settings
First and foremost, you need to make sure your camera settings are properly dialed in. This is true for any lighting situation, but it will really come into play for bad lighting conditions. Depending on the specific light, your settings will need to be modified, and here are some basic guidelines you can follow:
Camera Settings for Low Light or Night Photos
With dark scenes, the goal is to keep your shutter speed as high as possible (assuming you are not going for a long exposure or creative blurred shot). Because of this, start by increasing your ISO. Most cameras are advanced enough where you can easily shoot at ISO 3200 (if not higher) without having much grain show.
If you have a prime lens, consider using it so you can take advantage of the f/1.2 - 1.8 that you have. The wider you can open up your aperture, the more light that your camera will have.
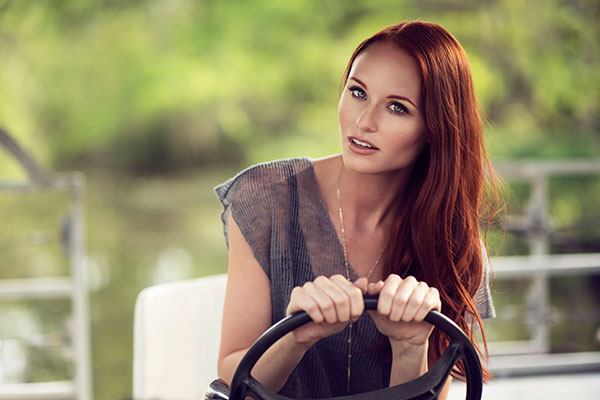
Once you have your ISO and aperture dialed in, then look at your shutter speed. Ideally, you want to have your shutter above 1/60th, otherwise you risk seeing some shake in the image from holding it.
Of course, if you are able to use flash (either on or off-camera), it’s recommended that you utilize your lighting tools for these situations.
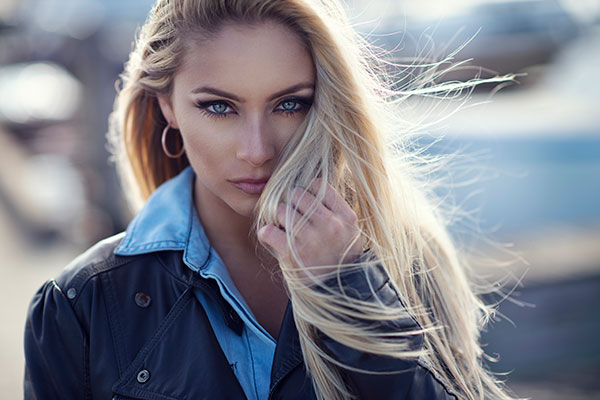
Camera Settings for Harsh Lighting
Harsh lighting is often seen in the middle of the day where the sun is out, and there’s not a cloud in the sky. Similar to the low light tip above, you can also use off-camera flash in harsh lighting to help balance it out. Using off-camera flash in the middle of the day can also be a great way to create unique and dramatic portraits that you typically wouldn’t get with only natural light.
If you prefer to keep the light natural, the goal with your camera settings should be to not blow out the highlights. Utilize the histogram on your camera (don’t rely solely on the image you see on the back of the screen!) to ensure you’re properly exposing the shot.
2. Isolate Your Subject
If the location you’re in is filled with poor lighting, don’t showcase its entirety. Similar to how wedding photographers will use a tighter lens to avoid showing a messy getting-ready room, you want to do the same with bad lighting.
If the light is not adding to the overall composition of the photo, consider zooming in on your subject to make them the focus of the image. From here, you can adjust your settings to properly expose for just your subject, without needing to worry as much about the surrounding light at your location.
3. Turn Off Lights
If bad lighting is caused by artificial lights at the location you’re shooting, consider turning them off. Hotels are notorious for having unflattering lights in their rooms, and if you’re a wedding photographer, hotels are extremely common to shoot in.

Often times, you will have natural light coming in from the windows and then tungsten lights filling the rest of the room. This can instantly cause a tough mixed lighting scenario to photograph and edit.
Whether it’s a hotel, house, office, or another building, don’t be afraid to take charge and see if turning the lights off is possible. By turning off the lights and only working with one main light source (such as natural window light), you have much more control over the image. If you do need more light, you can add an off-camera flash to the scene and control the temperature of your speedlight.
4. Use a Tripod
Tripods can make a world of difference for the quality of your photos, especially when shooting at night or in dimly lit rooms.
With a tripod, you can lower the shutter speed to capture more light. As mentioned earlier, if you are holding the camera, you want to try to stay above 1/60th of a second. Once you place the camera on a tripod though, you can have the shutter open for an extended period of time.

Setting your camera on a tripod to capture long exposures of landscapes works really well, but what about if you want to capture people in the frame as well? If your goal is to have the people in focus and not blurred, here are some suggested ways to do this:
• Depending on the length of time the shutter is open, have your subjects stay extremely still and not move
• Pop a flash on them to freeze their image in the frame
5. Consider Using Speedlights
Sometimes, the easiest and quickest way to combat tough lighting is by using speedlights. While these can’t always be used (some places have restrictions on using flash), it’s a great idea to keep a few in your camera bag. You can use them both on and off your camera, depending on the overall look you want to create.
Alternatively, if speedlights are something you’re not quite comfortable with or you prefer another way to bring light into an image, consider using a reflector. Reflectors can quickly shine a pop of light onto your subject and cancel out any harsh light that was initially in the scene.
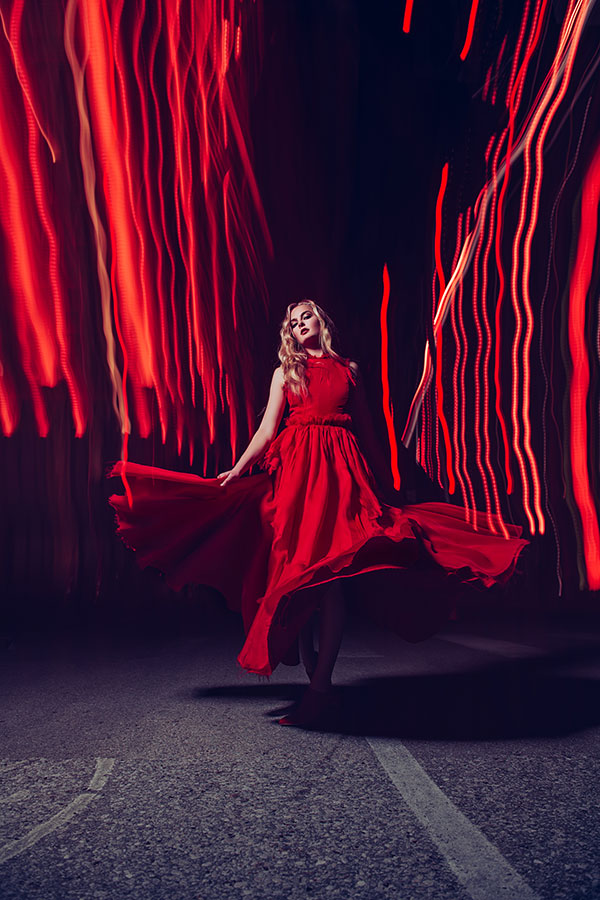
6. Get Creative
If you’re stuck with rough lighting all day, sometimes it’s best to embrace it and find ways to get creative! Once you’ve gotten your “safe” shots, use this as an opportunity to create different or unique images that you wouldn’t normally take.
Maybe you completely backlight your subject and create a silhouetted photo, or perhaps you expose the shot for the dimly lit room and create a moody photo. If there are harsh shadows in your location, find a way to place your subject in them to create a high-contrast image.
Conclusion
Poor lighting is inevitable for most photographers. Knowing ways to combat these situations and manipulate light is key to being confident for shooting in any type of lighting scenario.


![]()
Get the Latest Photo Tips, News & Reviews from Shutterbug!
| Camera Reviews Other Reviews | Mobile Reviews Photography Reviews Columns | News | Features | How-To | Resources |
 © 2026 Shutterbug
AVTech Media Americas Inc., USA
All rights reserved