- REVIEWS
Camera Reviews 
More Reviews Mobile Reviews Photography Reviews - GALLERIES
- VIDEOS
- BUYER'S GUIDES
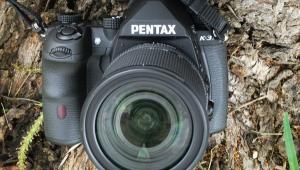
Sigma’s Easy IR; The SD14 D-SLR As An Easy Access IR Image-Maker
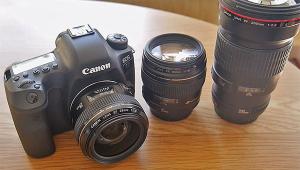
Buffs of infrared photography often go to great lengths to get the ethereal effects that define their images. Now that Kodak has served notice that their high-speed black and white IR film is on the endangered species list, there will be IR film shooters everywhere looking for a way to continue their exploration of that fascinating world. In the past year we have reviewed two Fuji entries that are built for IR work, the forensic market's S3 Pro UVIR D-SLR and the IS-1 integral lens IR camera (type in either camera into the Search box at www.shutterbug.com or type in IR or "infrared" for lots of material on this fascinating subject). In addition, there are many IR fans who send away their D-SLR camera to be adapted for IR photography, usually sacrificing its "normalcy" in order to get IR results. The operation usually involves removal of the IR cutoff filter in the light path. Last time we checked it can cost $300 and up for the conversion and, like we said, there's no going back once the filter is removed.
|
IR Filter Change
|
|
 |
|
|
|
 |
|
|
|
 |
|
|
Given this, we were interested to hear that the Sigma SD14 D-SLR makes conversion from normal to IR to normal again easy, with a procedure anyone can do. No screws or faceplate removal is necessary. Being shown this by the folks at Sigma itself leads me to assume that this does not void the warranty, as does the IR conversion procedure with other models. Indeed, the filter you remove from the light path is also how Sigma has you self-clean any dust that may have landed on it, or the sensor. But before you try this be forewarned: like anything that has to do with the innards of the camera it must be done with care.
A dislodged part or intrusive finger could cause havoc with delicate innards.
So, here's the big process: You take the lens off the camera. Inside you'll see a circular ring with a delta pointing up toward the penta-prism finder. You push down on the lower metallic portion of the ring and the filter will pop up. Carefully remove the filter ring from the camera. That's it--you're now IR ready. Put the filter in a safe and clean space, and do not do this in the field, as dust can be a problem, and of course have the camera OFF when you do this.
|
Filter Effects
|
|
 |
|
|
|
 |
|
|
|
 |
|
|
|
| |||||||||


![]()
Get the Latest Photo Tips, News & Reviews from Shutterbug!
| Camera Reviews Other Reviews | Mobile Reviews Photography Reviews Columns | News | Features | How-To | Resources |
 © 2026 Shutterbug
AVTech Media Americas Inc., USA
All rights reserved