- REVIEWS
Camera Reviews 
More Reviews Mobile Reviews Photography Reviews - GALLERIES
- VIDEOS
- BUYER'S GUIDES
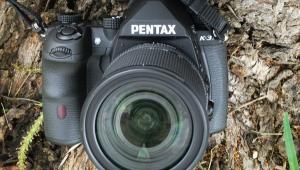
Sigma’s Easy IR; The SD14 D-SLR As An Easy Access IR Image-Maker Page 2
If you should choose to go back to normal shooting then simply take the filter out of its safe keeping place and, with the delta pointed true north, drop the filter back in, and give it a gentle push on the metal outer portion until you hear a slight "pop," which tells you it is back in place. At first this might seem a bit scary, but it is rather easy to do.
Be gentle as you work and do not force anything--it all goes in and out rather easily. And do avoid getting fingerprints on the filter part or anywhere in the interior of the camera.
|
Larger Print Results
|
|
 |
|
|
|
 |
|
|
Now that you're IR ready here are some other quick tips:
1) Use manual focus and Exposure mode. Depending on the filter you use to isolate the IR wavelengths the exposure will vary, but I found f/11 at 1/125 sec works for most shots. It's easy to review shots and then adjust exposure accordingly. The same goes for focus--eventually you'll learn the offset for IR, again depending on the filter you use.
2) Keep the ISO within reason. My best results were up to ISO 400. At a bit beyond 400 the noise gets pretty wicked in IR shots.
3) Do your conversions using raw format. The camera shoots JPEG or raw, not a combo file, so choose raw for the most conversion versatility.
4) Choose the filter according to the degree of effect desired. Sigma loaned us Marumi Red (R2), HB700, and HWB 830, with each bringing greater degrees of IR isolation to the table. If you want to see what you are shooting and work handheld use the red, as that works fine; if your process allows for tripod shooting and you can compose and then mount the filter use the others for a more profound effect.
5) Have fun, and go back and forth between the two with care and cleanliness in mind.
|
| |||||||||
- Log in or register to post comments


![]()
Get the Latest Photo Tips, News & Reviews from Shutterbug!
| Camera Reviews Other Reviews | Mobile Reviews Photography Reviews Columns | News | Features | How-To | Resources |
 © 2024 Shutterbug
AVTech Media Americas Inc., USA
All rights reserved