- REVIEWS
Camera Reviews 
More Reviews Mobile Reviews Photography Reviews - GALLERIES
- VIDEOS
- BUYER'S GUIDES
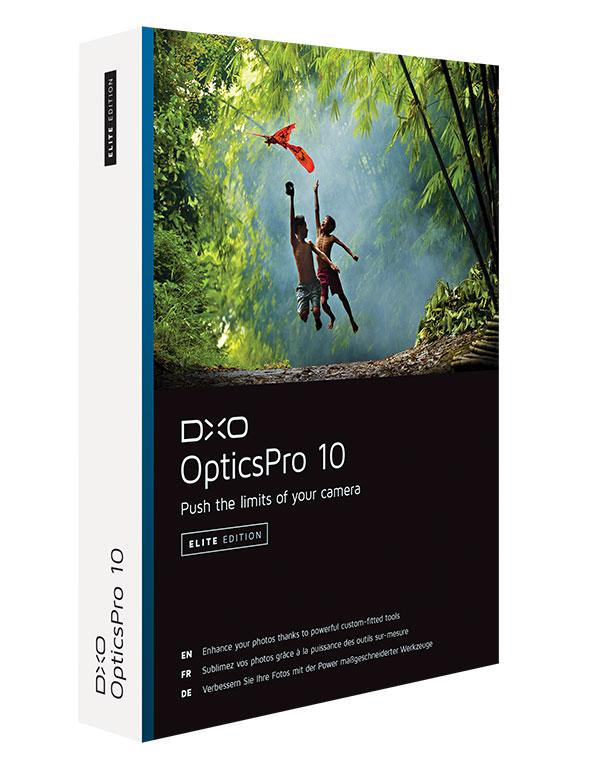
DxO OpticsPro 10 Elite Software Review
I’ve worked with DxO's OpticsPro imaging software for several years and have watched this program evolve and make great strides as a Raw image converter. What the new DxO OpticsPro 10 version of the software brings to the table is a cadre of new features and improvements. But are these enough to catapult this software into the top tier, or is it still playing catch-up?
OpticsPro 10 Elite Enhancements
There are lots of key enhancements to OpticsPro 10 but let’s start with full integration with Adobe Lightroom. You can go back and forth practically seamlessly between the two programs, including importing and exporting converted DNG Raw files.
What’s more, OpticsPro 10 now fully supports DxO’s own ViewPoint plug-in. ViewPoint very effectively tackles perspective and distortion control as no other tool I know. DxO 10 Elite comes with Version 1, which installs as a plug-in (also usable with compatible apps, such as Lightroom and Photoshop). I took it to the next level with the optional v.2.5 upgrade. (I also added FilmPack v.5 to the mix, although I’m less enthralled about film emulators in general.)
Beyond that, “Prime denoising” NR for Raw files (Elite edition only) has gotten a big speed boost, so you no longer fear that using it would be like watching paint dry. The Elite Edition also gives you the new DxO Clearview tool, to penetrate atmospheric haze. There are a few other enhancements, but I prefer to focus on the ones that had the most profound effect on my workflow.
(Tested platform: Apple iMac, configured with 3.1 GHz i7 processor, with 16 GB RAM, NVIDIA GeForce GT 650M 512 MB, OS X 10.9.5.)
Organize Your Images—Well, Sorta
OpticsPro removes the intimidation factor by simply involving you in two interface screens: “Organize” and “Customize.” The Organize screen lets you select the folder you’ll be working in, and that’s pretty much it.
Either screen provides the means to assign images to “Projects” (with a common theme or job title) that you create. And the program automatically generates new Projects for each Lightroom import, or group of imports. However, there are still no search tools (although there are rudimentary filters). What’s more, sorting is annoyingly applied globally, not individually for each folder, as is the case with Lightroom.

Further, DxO still fails to allow you to view multiple frames in one window (what is called “Survey view” in Lightroom) so you can pick and choose which image to edit from a group of similar shots. While testing OpticsPro, I often had to resort to Lightroom to select the image I’m going to edit in DxO’s software.
Seems wasteful, I know. That aside, you can view before and after, as well as side-by-side, comparisons of an individual edited image on either screen.
Working with Presets
The Customize screen is where we get down to business. To simplify things, use a Preset—a one-click approach to quickly define the look and feel of the image. While many Presets appear to just fill space or attempt to be clever, some are indeed useful. I recommend the DxO Standard Preset for starters with any image. In fact, choose this Preset in Preferences to apply it to all images in a folder when opened.
You can apply Presets from either screen, but you can create custom Presets only from Customize. (Note: Don’t select a custom or other Preset under Preferences, or you may be in for a rude awakening. Only the Standard Preset is benign enough to be applied universally as an effective starting point. Also note that some Presets may override others.)


Creating your own Preset is extremely inefficient, since OpticsPro lacks a dialog window similar to the one in Lightroom, where you can pick and choose the settings to be included. You can copy and paste settings to one or more images, but again, the same applies.
Keep in mind that all editing is non-destructive, meaning you can go back at any time and change it if you’re not happy with the results. Well, in theory, anyway. In reality, once you move from frame to frame, you may find yourself locked out of the Undo process in a prior frame and forced to use the No Corrections Preset, and start again. We need a History palette!
Working with Tools
I prefer to make Lightroom 5 my last port of call before exporting or outputting the image for its final destination. So, once I’m done in OpticsPro 10, I click on Export to Lightroom, which gives me several choices, among them DNG. In contrast to exporting Raw files from Lightroom to DxO, where the file is stripped of any editing you do, exporting the DNG file back (or exporting it initially) into Lightroom from DxO carries all editing intact.
Working with DxO’s tools is where it’s really at. DxO Smart Lighting is an automatic tonal adjustment that proves handy. The new DxO ClearView’s stated intent is to remove that hazy veil. I use it more broadly, to make numerous scenes pop.
By viewing the histogram, you’ll note that it expands the tonal range and enhances contrast in one quick step. However, I’d be careful when using it with fog, as this may destroy that ethereal feeling that fog lends to a scene.


For noise removal, DxO’s basic NR is a good choice with any file format, but for high-ISO or severely underexposed Raw images, Prime denoising takes center stage.
It does a nice job of smoothing out textures and banishing hot pixels without giving the image that plastic look. Make sure to use the preview pane, or you won’t see the effect: It’s not apparent on screen, even at 100%.


Final Analysis
DxO still has a ways to go before it becomes my go-to Raw converter. What I find really frustrating is this: each year I look for the same improvements and each year, with rare exception, DxO disappoints. What’s more, by comparison to Lightroom, OpticsPro is still painfully slow. Add to that, stability issues that plague this software. And it still lacks the tools for effective asset management.


But at the end of the day, after counting to 100 several times to vent my frustrations, I feel a sense of satisfaction with the images edited in OpticsPro 10 Elite edition. I’d be careful about taking some steps too far, namely Microcontrast (similar to Clarity in Lightroom) and Fine contrast (similar to Structure in Nik apps), which could lead to a Grunge effect when overdone.
However, in moderation these tools, along with DxO ClearView, can reinvigorate an image. Prime denoising, together with various tonal/exposure corrections, can even bring a seriously underexposed image back from the dead. The ViewPoint plug-in will have your buildings standing upright and your images standing tall.
So, yes, OpticsPro 10 has its shortcomings, but on the plus side, it has the tools you need to produce the images you want—with a little patience.
Price: $199/Elite edition
A fully functional free trial version of DxO OpticsPro 10, good for one month, is available on the DxO Labs website.
Info: www.dxo.com


![]()
Get the Latest Photo Tips, News & Reviews from Shutterbug!
| Camera Reviews Other Reviews | Mobile Reviews Photography Reviews Columns | News | Features | How-To | Resources |
 © 2026 Shutterbug
AVTech Media Americas Inc., USA
All rights reserved