- REVIEWS
Camera Reviews 
More Reviews Mobile Reviews Photography Reviews - GALLERIES
- VIDEOS
- BUYER'S GUIDES
How to Use Lightroom’s POWERFUL Color Calibration Tools (VIDEO)

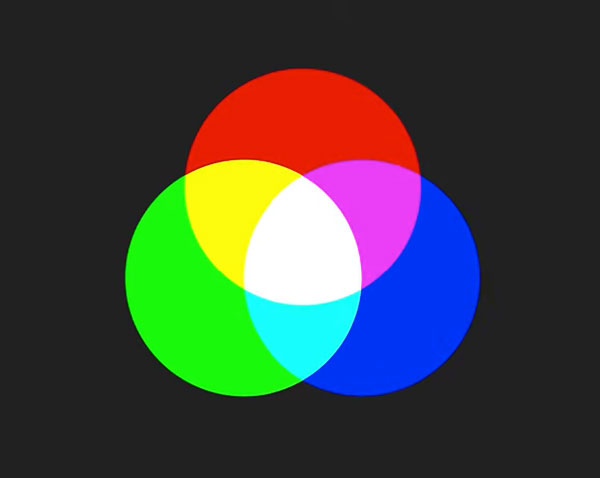
As you may already know, a photograph consists of three primary colors: red, green and blue. And all other colors result from a combination of at least two of these primary colors. For example, with only red and blue pixels the result with be a purple tone. Yet with all three colors the image will contain a wide range of tones—depending upon the specific value of each color.
There’s no universal standard of how the three primary colors appear, because different cameras brands use a propriety rendition of how colors appear. As a result, if you’re using a Sony camera but prefer Canon’s color palette, the proper use of Lightroom’s Color Calibration tool helps you get that done in a hurry.
But there’s more to this tool than tweeking colors to meet your preference. As you’ll see, “you can also use the Color Calibration tool to create unique effects and a style of your own. So why is calibrating colors so important? One basic reason is to render skin tones as accurately as possible.
Now that you have the necessary background of how colors interact, Born delves into the specifics of employing the various sliders to refines the tones of an image. This simple method works great for portraits shot indoors or out, nature and landscape images, and just about everything else you may shoot.

She begins by moving a single slider within Lightroom’s HSL panel and you’ll see how that modifies an image is rendered. She then illustrates why the Color Calibration sliders offer far more control—especially when you want to remove an unsightly color cast that degrades the quality of your shot.
There’s much more to learn on Born’s instructional YouTube channel, so pay a quick visit after watching this video.
And don’t miss the earlier tutorial we posted, explaining how to speed up your Lightroom workflow with 5 easy tips


![]()
Get the Latest Photo Tips, News & Reviews from Shutterbug!
| Camera Reviews Other Reviews | Mobile Reviews Photography Reviews Columns | News | Features | How-To | Resources |
 © 2026 Shutterbug
AVTech Media Americas Inc., USA
All rights reserved