- REVIEWS
Camera Reviews 
More Reviews Mobile Reviews Photography Reviews - GALLERIES
- VIDEOS
- BUYER'S GUIDES
How to Recover Shadow Detail in Dark Photos Using Lightroom (VIDEO)
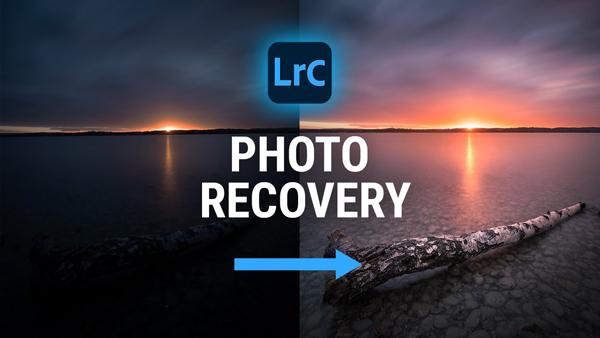
It’s not uncommon to end up with underexposed photos if you don’t carefully compensate for bright light sources in the background of a scene. But mistakes are meant to fixed, not trashed, as you’ll see in the Lightroom tutorial below.
This episode from Phlog Photography begins with a severely underexposed image, devoid of detail in the dark foreground, that would otherwise be a very dramatic seaside photo. As you’ll see, instructor Christian Mohrle is able to completely rehabilitate the image with a quick and simple Lightroom technique.

As Mohrle says, this tutorial harnesses the “insane power of Raw files” for fixing poorly exposed images in Lightroom. At the end of the episode he quickly turns to Photoshop to clean up a few annoying artifacts and sensor spots.
Mohrle explains that he intentionally underexposed the image to capture as much detail in the highlights as possible. So in combination with his processing method, he achieves the best of both worlds.
The first step is to make a few global adjustments to the overall scene to achieve the best possible starting point for the magic that follows. Mohrle first switches the camera profile to Adobe standard for an initial boost in the shadows. He then bumps up the exposure, adjusts white balance for more warmth, adds a bit of contrast, and substantially increases vibrance.

Now it’s time for several local adjustments. He use a radial gradient to cut exposure of the sun, and a linear gradient to darken the sky and give it more clarity. He also enhances sharpness by increasing texture and clarity.
Mohrle then turns to color grading with a split toning effect—adding warmth to the highlights and midtones, and introducing blue tones to the shadows. After a few quick refinements and a trip to Photoshop to clean up some distractions, the image is done.
You can find many more shooting and editing tips on Mohrle’s YouTube channel, so be sure and pay a visit. And check out another Lightroom tutorial we posted recently, with several simple tips for editing b&w photos.


![]()
Get the Latest Photo Tips, News & Reviews from Shutterbug!
| Camera Reviews Other Reviews | Mobile Reviews Photography Reviews Columns | News | Features | How-To | Resources |
 © 2026 Shutterbug
AVTech Media Americas Inc., USA
All rights reserved