- REVIEWS
Camera Reviews 
More Reviews Mobile Reviews Photography Reviews - GALLERIES
- VIDEOS
- BUYER'S GUIDES
How to Add Falling Snow to Winter Photographs in Photoshop (VIDEO)
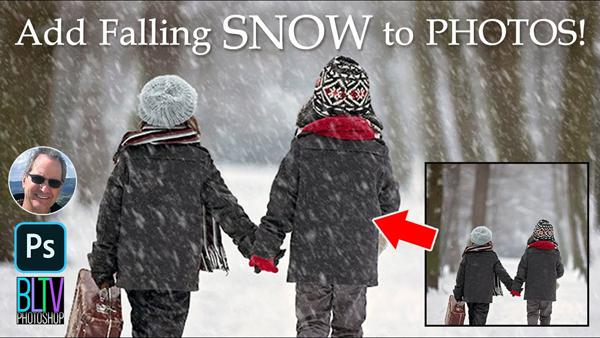
Temperatures are dropping and the first day of winter is barely around the corner, with all the great photo opportunities the chilly new season will present. One way to best capture the essence of winter is to include falling snow in your images.
In the Photoshop tutorial below you’ll learn how to add flurries or a blizzard to wintry shots when Mother Nature isn’t cooperating. Instructor Marty Geller of Blue Lightning TV demonstrates how to create this effect in barely five minutes.

Geller begins with a nice winter scene captured on a cloudy day with snow on the ground but none falling from the sky. To assure that you can follow along with the video and achieve similar results, he explains the proper settings for resolution and image size.
With that out of the way, Geller creates a new layer and fills it with black—making sure that the foreground and background colors are set to black and white respectively. And he provides the necessary keyboard shortcuts for speeding up the entire process.
The next step is to click on the Filter tab at the top of your screen, and select Add Noise from the dropdown menu. He then provides the specific settings to use for optimum results.

The real magic begins once you click on the Edit tab, choose Transform from the dropdown menu, and select Rotate 180° in the next menu. From there Geller walks you through the simple remaining steps for adding natural looking falling snow to whatever image you have.
After watching the video head over to Geller’s YouTube channel for more helpful tips and tricks.
For another great weather transformation, check out the Photoshop tutorial we posted yesterday, explaining how to transform summer and autumn photos into winter scenes with a one-click Photoshop trick. After using that technique you can then add falling snow to the shot with the method you just learned.


![]()
Get the Latest Photo Tips, News & Reviews from Shutterbug!
| Camera Reviews Other Reviews | Mobile Reviews Photography Reviews Columns | News | Features | How-To | Resources |
 © 2026 Shutterbug
AVTech Media Americas Inc., USA
All rights reserved