- REVIEWS
Camera Reviews 
More Reviews Mobile Reviews Photography Reviews - GALLERIES
- VIDEOS
- BUYER'S GUIDES
Here’s the Difference Between Photoshop’s Vibrance and Saturation Tools and How to Use Them (VIDEO)
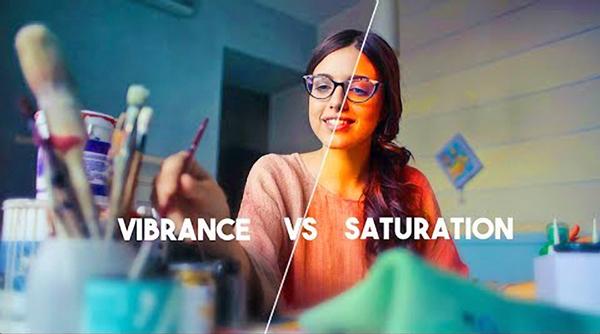
Many photographers are uncertain about the difference between Photoshop’s Vibrance and Saturation tools, and how to use them when editing images. If you’re among the confused, this quick tutorial is for you.
Nemanja Sekulic is an image-editing expert, and in the nine-minute video below, he explains how Vibrance and Saturation tools impact the color of an image in separate ways. He then demonstrates when you should use one tool, or the other—and perhaps employ both in combination.

Sekulic uses portrait photos to demonstrate the color enhancement techniques in this tutorial, but the same rules apply for editing landscapes, action photos or any type of image that need work. As he explains, the Saturation tool controls the intensity of vibrant colors, and makes them more “pure.” So as you increase saturation, the reds in an image become redder, the blues more blue, and so on.
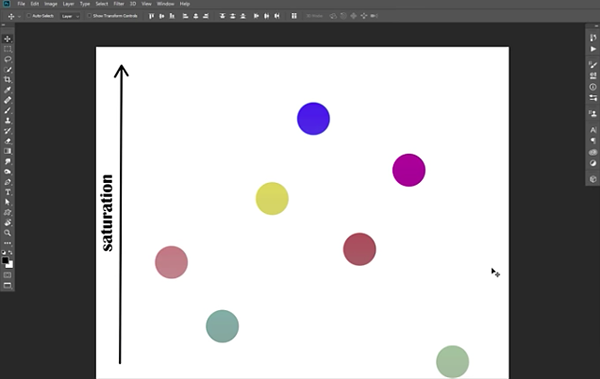
The Vibrance tool, on the other hand, takes a more subtle approach by boosting the muted tones in an image. That’s why it’s a good choice for enhancing landscape photos with soft, delicate colors, or editing portrait photos when preserving skin tones is important.

As you’ll see in the video, the best technique for creating images with perfectly balanced color is often to use the Vibrance and Saturation tools in tandem. And best yet, this technique is effective and very easy to execute.
Check out Sekulic’s YouTube channel for more interesting Photoshop tips. And be sure to watch his earlier video we posted, explaining how to colorize b&w photos for natural-looking results.


![]()
Get the Latest Photo Tips, News & Reviews from Shutterbug!
| Camera Reviews Other Reviews | Mobile Reviews Photography Reviews Columns | News | Features | How-To | Resources |
 © 2026 Shutterbug
AVTech Media Americas Inc., USA
All rights reserved