EDITING TIPS: Don’t Overlook the Easy & Powerful Tone Curve (VIDEO)

Some photographers limit their processing regimen to playing with the shadow/highlight sliders, bumping up contrast and saturation, and adding bit of sharpening. But even if you like to keep things simple, there’s another easy-to-use tool that deserves your attention.
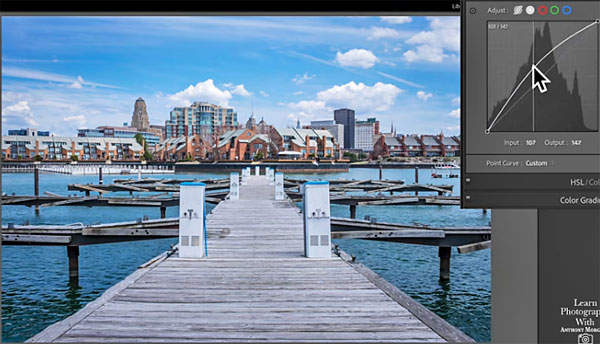
Image-editing expert Anthony Morganti says, “By neglecting the Tone Curve you’re overlooking a very effective tool that can help with your post processing. And in the 12-minute video below, he demonstrates everything you need to know for making the most of this tool.

While Morganti is using Lightroom to explain how this tool works, he notes that Tone Curve adjustments are available in just about any editing application you use. Upon opening the Tone Curve in Lightroom’s Develop module, you’ll notice there are actually five Curves listed across the top of the panel. Morganti shows you how to use each of these in detail, and much more.
Morganti begins by explaining how to interpret the histogram that appears behind the diagonal line in the Curves window, noting that the histogram is simply a plot of the tones in an image—with the darkest to the left, the lightest to the right, and all the varying tones in between. And the more of a specific tone you have, the higher the peak in the histogram.

With those basics out of the way, Morganti moves on to a variety of simple adjustment tips and tricks for achieving optimum results. The first thing you’ll realize is how easy it is to adjust certain tones in an image without affecting others, be they highlights, midtones, or shadows.
You’ll also see that depending upon which Curves option you select, the more specific or general your adjustments will be. The only problem with using this tool is that it’s really addictive once you get started.
You can find more editing tips on Morganti’s YouTube channel, and in our recent post in which another pro reveals what he calls the best processing workflow for quick results.


