- REVIEWS
Camera Reviews 
More Reviews Mobile Reviews Photography Reviews - GALLERIES
- VIDEOS
- BUYER'S GUIDES
The BEST Way to Create & Refine Masks in Lightroom by Adding or Subtracting Objects (VIDEO)
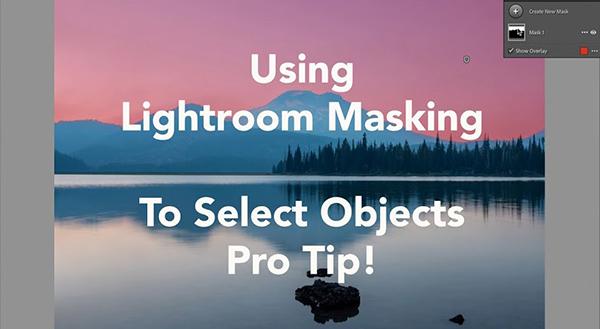
According to one of our trusted pros the new Select Object feature in Lightroom "is a powerful and amazing way to create refined selection masks" and it's a straightforward technique that everyone should understand. By watching the nine-minute tutorial below you'll know exactly how it works.
Instructor John Pederson is a full-time pro, workshop leader and author based in the Pacific Northwest. He explains his work like this: "I strive to create images that speak with emotion and tell compelling stories to the viewer," and the videos he posts are designed to help you do the same.
This episode takes a somewhat different approach to masking than other's we shared in the past, by demonstrating how to add or subtract objects during the process.

As you may know, Adobe recently pushed out some big improvements to Lightroom's masking capabilities that make selections in the sky, background, and foreground easier and more effective than ever. But according to Pedersen there's an amazing and oft-ignored tool, which is the topic of today's lesson.
This simple and easy-to-use feature is called Objects and is an option within Lightroom's Mask menu. Pedersen's demonstration image is a beautiful location he photographed at Sparks Lake on calm day in central Oregon, with glass-like water and imposing mountains in the background. The problem is smoky haze hanging over the peaks that resulted from wildfires in the area.
Pedersen jumps into Lightroom and creates a mask over the sky to adjust exposure. His next objective is to select the mountains to minimize haze in this area too, but conventional methods don't work to his satisfaction. His trick solves the problem and works like this: After choosing the new Object option his cursor turns into a selection circle that can be made larger or smaller by using bracket keys on the keyboard. Then he simply paints over the mountains and adjacent trees to get exactly the mask he needs.
Now it's a very simple matter to add Dehaze to this area without affecting the rest of the image.
He notes that when using the Dehaze slider to fix smoking conditions, a slightly blue cast often occurs. So he adds back a bit of yellow to restore the natural colors. He also drops the blacks, adds a bit of contrast, and now the image is significantly clearer and truly looks outstanding.

Pedersen demonstrates several more ways to this powerful feature for other editing tasks, and we encourage you to add it to your Lightroom bag of tricks. Be sure to take a look at Pedersen's YouTube channel where you'll find many more tips and tricks.
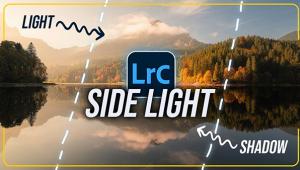
We also suggest that you watch an earlier tutorial we posted from another accomplished pro, explaining how to use Lightroom to "shape light" for outdoor photographs that really POP!


![]()
Get the Latest Photo Tips, News & Reviews from Shutterbug!
| Camera Reviews Other Reviews | Mobile Reviews Photography Reviews Columns | News | Features | How-To | Resources |
 © 2026 Shutterbug
AVTech Media Americas Inc., USA
All rights reserved