- REVIEWS
Camera Reviews 
More Reviews Mobile Reviews Photography Reviews - GALLERIES
- VIDEOS
- BUYER'S GUIDES
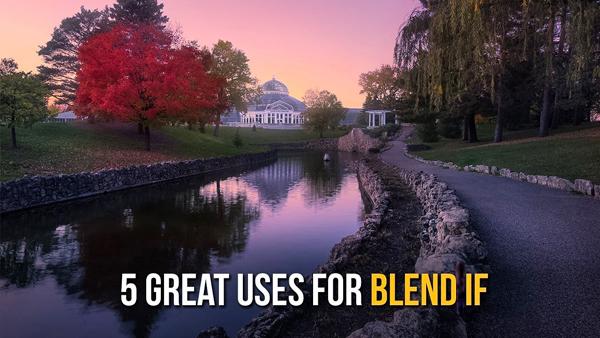
Use Photoshop’s Easy BLEND IF Tool for Epic Travel & Nature Photos (VIDEO)
Are you familiar with Photoshop’s powerful Blend If tool and how easily it enables you to create outdoor photos with maximum impact? If not, you’re in for a treat.
Greg Benz is a Minneapolis-based photographer and image-editing expert, and in the video below he demonstrates how to take advantage of this oft-ignored technique to achieve more impressive edits. As he says, “Blend If is one of the most powerful tools in Photoshop.”
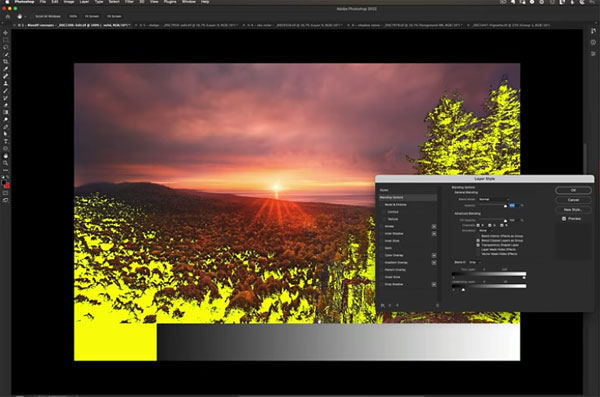
In this helpful episode Benz explains how Blend If works, and he demonstrates five great ways to employ this amazing tool. In his first example you’ll see how to quickly add a soft glow to the highlights of an already impressive sunrise photo. He does this by creating a new brightness/contrast layer, switching the Blend mode to “Soft Light,” and letting Photoshop do the heavy lifting.
Blend If can be used to target either the shadows or highlights to create exactly the look you’re after. Benz also demonstrates how this method can be employed to enhance the midtones. He reveals keyboard shortcuts for speeding up the process, which is almost as simple as moving the sliders.
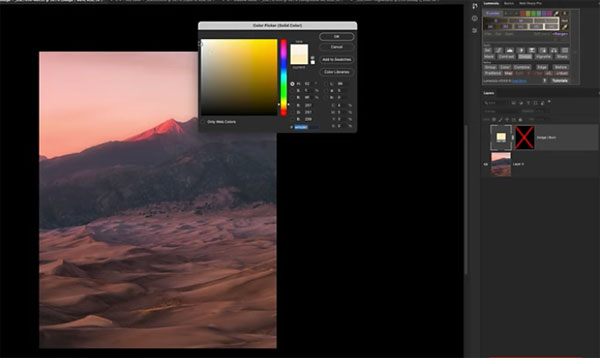
With another image, Benz illustrates how Blend If can be used to dodge and burn the photo for added dimension and texture to sand dunes in the foreground for a much-improved effect. Here he quickly dodges the highlights while burning the shadows.
Other flexible Blend If techniques include fixing blown-out highlights in skies, reducing noise in the shadows of a nighttime astrophotography shot, and a more involved method of using multiple Blend If adjustments to the photo at the top of this page.
We encourage you to pay a visit to Benz’ instructional YouTube channel where you’ll find more great tips and tricks.
And don’t miss the tutorial we posted from another pro recently, explaining how to dramatically improve boring landscape photos by using free skies from Adobe.
- Log in or register to post comments


![]()
Get the Latest Photo Tips, News & Reviews from Shutterbug!
| Camera Reviews Other Reviews | Mobile Reviews Photography Reviews Columns | News | Features | How-To | Resources |
 © 2024 Shutterbug
AVTech Media Americas Inc., USA
All rights reserved