- REVIEWS
Camera Reviews 
More Reviews Mobile Reviews Photography Reviews - GALLERIES
- VIDEOS
- BUYER'S GUIDES
Photoshop Basics: Restore Vintage Photos with These Simple Tips (VIDEO)
If you’re like most of us you have a bunch of old fading family photos gathering dust, and relatives keep bugging you to “fix” them and share your handiwork with the clan. If you’re ashamed to admit you don’t know where to start, this quick tutorial is for you.
Common problems with vintage photos include fading, shifting colors, and the yellowing of b&w images. And there’s often that nasty bleed-though of writing on the back. But it’s all easy to fix, and you’ll be able to claim you're a restoration expert after watching the seven-minute video below.
This is the type of quick fix for which we often turn to editing expert Anthony Morganti, and he really comes through in this easy-to-follow episode. Once you scan in all those deteriorating images and follow his advice, you’ll be able to make them look better than ever in less time than it take to watch this tutorial.
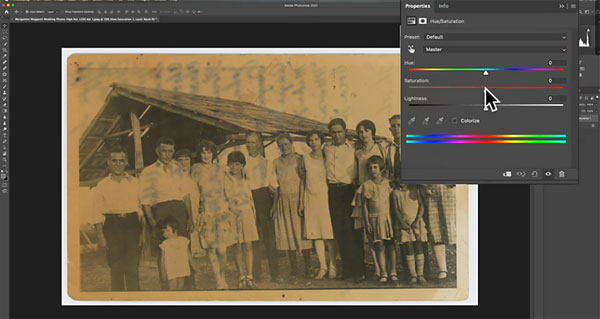
Morganti begins with a typical old b&w shot, and demonstrates how easy it is to get rid of a yellow cast and remove some pretty bad bleed-through from the back of the print. He explains that if it weren’t for the writing on the back, you could simply desaturate the image for an almost instantaneous fix.
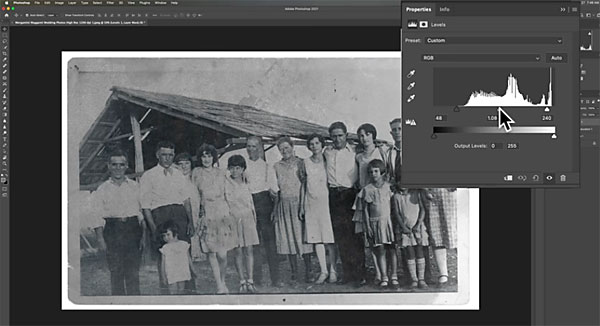
Instead of simply using the Saturation slider, this image requires slightly more work, and Morganti turns to a Curves adjustment method that you can also use when restoring color photographs. Once the yellowing and bleed-through are gone, the image is still badly faded, and you’ll see how to quickly rectify that using the histogram in a Levels adjustment layer.
After removing a few dust and dirt spots the image look pretty good. And if it’s not too late, tell your mom to stop writing on the back of her favorite photographs.
You can find more helpful tips on Morganti’s YouTube channel, and in another Photoshop tutorial we posted recently to help you add impact to dull landscape images.
- Log in or register to post comments


![]()
Get the Latest Photo Tips, News & Reviews from Shutterbug!
| Camera Reviews Other Reviews | Mobile Reviews Photography Reviews Columns | News | Features | How-To | Resources |
 © 2024 Shutterbug
AVTech Media Americas Inc., USA
All rights reserved