How To Make A Digital Montage; Combining Images To Create New Visions Page 2
Now select the Move tool and while holding down the shift key, click on the blurry image and drag it over to the sharp image. Your blurry image should now obscure your sharp image.
Your sharp image will now have two layers. Go to the Layers palette and click on the drop down blending mode menu that initially says "normal." Change it to "multiply." Suddenly you will see both images together. If you need to fine-tune the exposure you can add a levels (or curves) adjustment layer to modify the exposure as desired. To increase the effect you may even want to duplicate your blurry layer in Multiply mode and use the opacity slider in the Layers palette or even a layer mask to modify the combination.
 |
|
|
Sometimes you may have an image where it would be effective to have one part
of the image tack sharp while the rest has a dreamy feel to it. If you are using
Photoshop (not Elements) you can do this. My preferred way to do this is to
flatten the image (Layer>Flatten) and then duplicate the remaining layer
(Layer>Duplicate). Next I apply the Unsharp Mask filter to the new layer.
Then I add a layer mask to this layer by clicking on the add a layer mask icon
at the bottom of the Layers palette. I allow the sharpening to appear only where
I want it by filling the layer mask with black (hold down ALT when clicking
on the add layer mask icon in the Layers palette) and then painting with white
on the mask where I want the sharpening to show.
Surreal montages add a moodiness and expressiveness that go beyond a straightforward
photograph. At first it may seem like only a few subjects would lend themselves
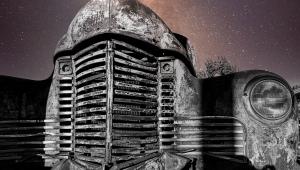
to this approach, but I have had success with images as diverse as an old abandoned
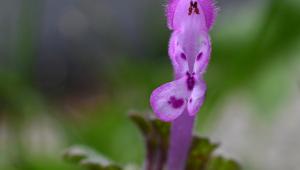
house, flowers, old abandoned cars, cowboy boots, scenic foliage, and even with
a shot of three baby Amur leopard cubs in a zoo. It's a technique worth
trying when you want to go beyond the ordinary.
On several occasions I've had people comment that they thought I photographed
someone else's painting--they couldn't imagine you can create
something this expressive from a photograph. Perhaps many of them hadn't
seen the traditional slide sandwiches. In fact, another advantage of creating
surreal montages in Photoshop is that the digital file is much easier to print
accurately. This way you can show your montages as a print or on the Internet
as well.
- Log in or register to post comments


