- REVIEWS
Camera Reviews 
More Reviews Mobile Reviews Photography Reviews - GALLERIES
- VIDEOS
- BUYER'S GUIDES
Magix PhotoStory 2004; Create Slide Shows Like Never Before, On CD & DVD
Further Information You can't turn around
these days without bumping into a software package that purports to
be the ultimate slide show creation tool. Still, there are a few that
stand out, and Magix PhotoStory on CD & DVD 2004 ($39.99/Windows
only) is among them. PhotoStory 2004 provides a platform for the creation
of some very entertaining presentations. What it doesn't do is
let you create screen savers, which, in my book, is an oversight. |
|||
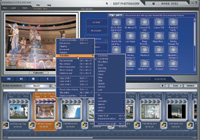
Some Interface Concerns |
|||
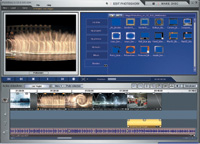
Create Your Own Slide
Show |
|||
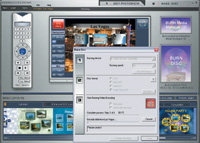
Step 3. In
Storyboard mode, click on "Text" to enter a title or other
text, such as copyright information. You can do this individually for
each slide. For the Las Vegas show I created, I added a title and byline
on slide 1, closing with a shot of the slot machines at the airport, with
text reading: "Leaving Las Vegas." Fade out. |
|||
Burn The Movie To Disc Magix Movie Edit Pro 2004 PhotoStory treats each slide
show as if it were a movie, even to the point of letting you add movie
clips to any presentation. However, if you'd like to work with actual
movies, then Movie Edit Pro 2004 ($99.99/Windows) may be the way to go.
Contact |


- Log in or register to post comments


![]()
Get the Latest Photo Tips, News & Reviews from Shutterbug!
| Camera Reviews Other Reviews | Mobile Reviews Photography Reviews Columns | News | Features | How-To | Resources |
 © 2024 Shutterbug
AVTech Media Americas Inc., USA
All rights reserved