- REVIEWS
Camera Reviews 
More Reviews Mobile Reviews Photography Reviews - GALLERIES
- VIDEOS
- BUYER'S GUIDES
How to Use Backlight For Dreamy Outdoor Portrait Photos (VIDEO)
One “rule” many photographers learn when first starting out is to “always shoot with the sun at your back.” This advice may work well for “Kodak Moment” snapshots, or for predictable photos of average scenes, but a different approach is called for if you’re after eye-catching imagery that stands out from the crowd.
You can often create more compelling photos by framing the scene in a way that your subject is lit from the side or behind. The latter approach, referred to as “backlighting,” is particularly effective when shooting outdoor portraits. It’s the opposite of conventional wisdom because the sun is pointing toward the camera.
Julia Trotti is an Australian portrait/fashion photographer, and an excellent instructor. If you peruse the images in this episode and on her YouTube channel, you’ll quickly see that she’s a big fan of backlighting models with natural light. In today’s quick episode she provides five simple tips so you can emulate this style of portraiture.
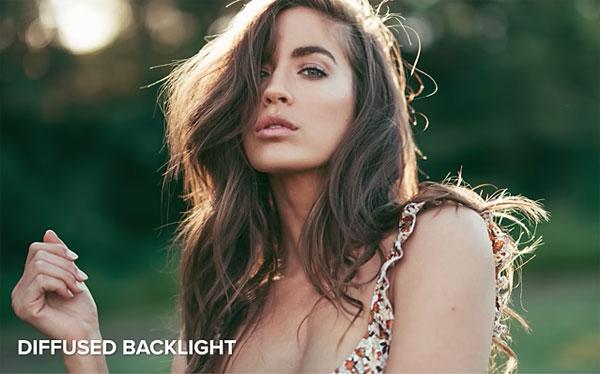
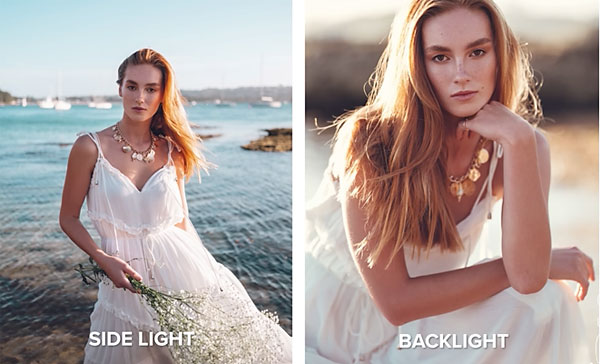
This technique delivers bright and airy portraits, images with creative lens flare (if and when you want it), and photos with a dreamy look. Trotti includes diagrams illustrating the ways you can position yourself and the subject relative to the sun, and you’ll see the different effects backlighting provides as compared to illuminating a subject from the side.
Trotti typically composes images with the sun outside the frame, to avoid a “whiteout” situation that may obscure the models body or face. She also likes to shoot from a slight angle when photographing backlit subjects, which “makes the light appear more natural and blended.”

The position of the sun relative to the horizon may influence how you deal with backlighting. Trotti also explains how to use an object in the scene (like foliage) to partially diffuse the harsh backlighting for a softer look.
Other tips include how to create (or avoid) flare when using backlighting, as well as a few other tricks. So take a close look and give your portrait photos a more interesting effect.
You can find more helpful advice on Trotti’s YouTube channel and in another of her tutorials we posted recently, explaining six reasons for unsharp photos and how to do it right.
- Log in or register to post comments


![]()
Get the Latest Photo Tips, News & Reviews from Shutterbug!
| Camera Reviews Other Reviews | Mobile Reviews Photography Reviews Columns | News | Features | How-To | Resources |
 © 2024 Shutterbug
AVTech Media Americas Inc., USA
All rights reserved