- REVIEWS
Camera Reviews 
More Reviews Mobile Reviews Photography Reviews - GALLERIES
- VIDEOS
- BUYER'S GUIDES
Blur Your Backgrounds For Better Candid Portraits Page 2
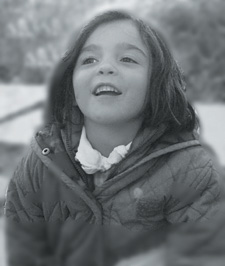
Eraser: Now it's time to eliminate the blur from our main subject. To do this go to the toolbox and choose the Eraser tool. You can make the tool larger or smaller by using the bracket keys on the keyboard; the left bracket makes it smaller and the right bracket makes it larger. (Figure 04.)
|
Final: You can erase away the blur to taste. If you overdo it in some areas all you need do is go to the toolbox and make "white" the foreground color and you can paint black what you eliminated before. (Figure 05.)
 |
|
|
Extra Credit:
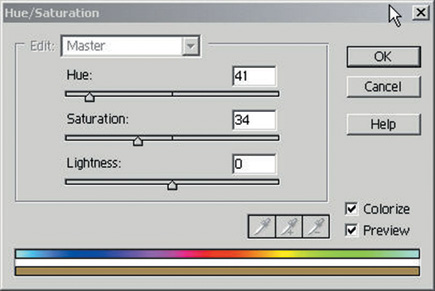
Hue/Sat: Because we kept the image as an RGB (color) file it's
easy to add a color tone to black and white. Go to Enhance>Adjust Color>Hue/Saturation
and open the dialog box. Click on the Colorize box and move the hue and the
saturation sliders to your taste. (Figure 06.)
 |
|
|
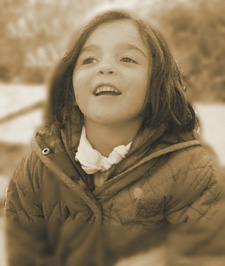
Final Sepia: Our choice here was a warm sepia tone, although you could choose any color tone you like. (Figure 07.)
 |
|
|
|
| |||||||||
- Log in or register to post comments


![]()
Get the Latest Photo Tips, News & Reviews from Shutterbug!
| Camera Reviews Other Reviews | Mobile Reviews Photography Reviews Columns | News | Features | How-To | Resources |
 © 2024 Shutterbug
AVTech Media Americas Inc., USA
All rights reserved